Pepper Design Blog
A Little of This & That... Renovating, Decorating, DIY Projects & Family
Affiliates
pepperdesignblog's ideabooks
Renovating Adventures
Our 2016 Holiday Season Captured in Moments.
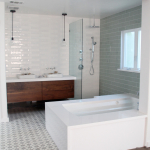
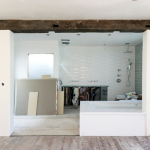
Our Master Bedroom/Bath: Finished.
Renting Our Home on Airbnb.
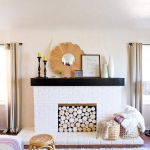
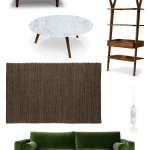
A Little Furniture Inspiration From Bryght
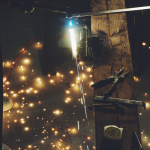
A Welding Hobby
Master Bedroom & Bathroom Renovation: Artwork
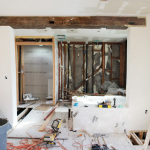
Master Bedroom & Bathroom Renovation
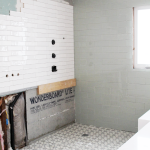
Master Bedroom & Bathroom Remodel: Week 26
Master Bedroom & Bathroom Remodel: Week 22
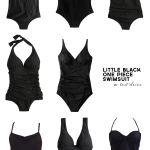
Black One Piece Swimsuit Roundup
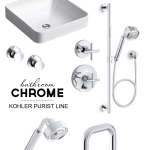
Master Bedroom/Bathroom: It’s All About the Chrome
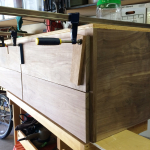
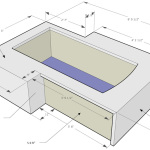
Master Bath & Bedroom Remodel: A Walnut Vanity
Master Bed & Bathroom Remodel: Week 17-18
Master Bed & Bathroom Remodel: Week 14
Master Bath & Bedroom Remodel: Week 12-13
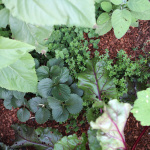
Our 2015 Spring Veggie Garden
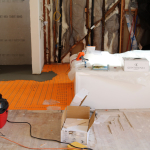
Master Bath/Bedroom: Week 8
Master Bath & Bedroom: Cement Tile
Master Bath & Bedroom: Week 6-7
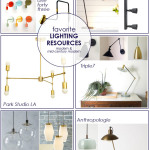
Favorite Lighting Sources
A New Daybed for the Girls’ Room
Master Bath & Bedroom: Week 2
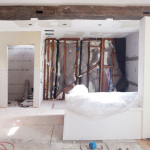
Master Bath & Bedroom: The Home Side of the Demo
Master Bath & Bedroom: Let’s Get Started
2014, a Year in Review
Winter Maintenance, Preparing for Guests & Outdoor Updates
An Update on the Fall/Winter Garden Box
Reconfiguring the Nursery & a New Baby Monitor
1
2
3
…
12
Next Page »