Pepper Design Blog
A Little of This & That... Renovating, Decorating, DIY Projects & Family
Affiliates
pepperdesignblog's ideabooks
Home
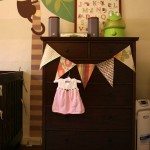
Project Nursery: No Sew Fabric Pennant
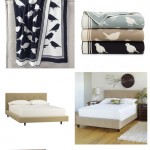
Birds of a Feather…
Office Makeover: Back in Action!
Friday Guest Blog Interview: Copy Cat Chic
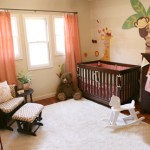
Project Nursery: Finished!
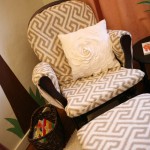
Project Nursery: A *New* Ottoman for the Glider
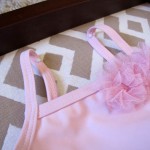
Project Nursery: Creative Clothing Art
Friday Guest Blog Interview: Emily A. Clark
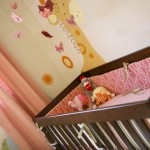
Project Nursery: All A-Flutter
Project Nursery: Sneak Peek
DIY Morrocan Lamps
San Diego Magazine: Personalizing an Outdoor Space
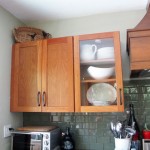
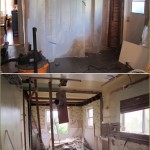
The New Kitchen: Before & After!
Wrapping Up the New Kitchen: Zig Zag Fun
Project Nursery: Crib Skirt How-To
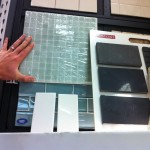
Building a Bathroom: Tiling with Recycled Glass
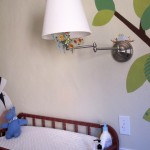
Project Nursery: A Much Needed Lighting Update
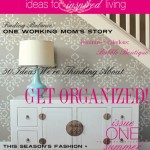
New E-Zine on the Scene: House of Fifty
Project Nursery: Basket Liners Part 2
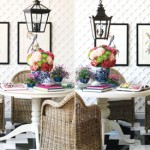
Living Room Love: A Finished Mantel!
High/Low Quiz: Can You Guess the Budget Room?
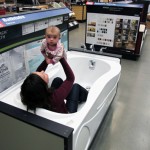
Building a Bathroom: Rub A Dub Dub
Friday Guest Blog Interview: The Design Pages
Project Nursery: All Lined Up
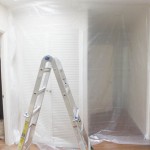
Building a Bathroom: Demo Time!
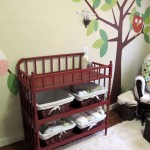
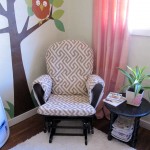
Project Nursery: A Cozy Place to Rock
Building a Bathroom: Initial Inspiration
Building a Bathroom: PDB + Lowe’s = LOVE
« Previous Page
1
…
8
9
10
11
12
…
17
Next Page »