Pepper Design Blog
A Little of This & That... Renovating, Decorating, DIY Projects & Family
Affiliates
pepperdesignblog's ideabooks
Home
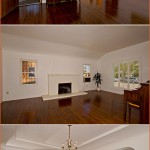
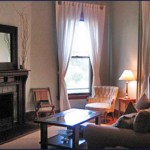
Dreaming Up a New Living Room…
Organizing with Expedit {and it’s pretty, too}
Favorite Trend: Faux Bamboo Furniture
Favorite Fabric: Dandi Custom Fabrics
Favorite Trend: Chevrons
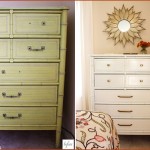
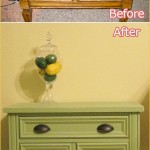
Before & After: Breeanna’s Dresser & Nightstand
Friday Guest Blog Interview: Ish & Chi!
Rooms Inspired by the Month of March
Friday Guest Interview: 6th Street Design School
Friday Interview: High-Heeled Foot in the Door!
Weekend Project: DIY Wallpapered Bookshelf
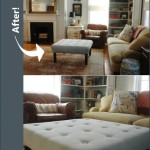
Before & After: Coffee Table to Ottoman
Rooms Inspired by the Month of February
Friday Guest Blog Interview: All Things Lovely
DIY {Waiting for Spring} White Winter Flowers
Friday Guest Blog Interview: Young House Love!
{Before & After} Jett’s Nursery
Friday Guest Blog Interview: Bethany of b*spoke!
The House Hunt is On…
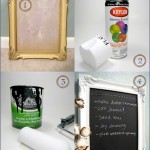
Before & After: Chalkboard Frame
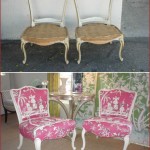
I *Love* Occasional Chairs
In with the Old! New Year’s Refurbishing Inspiration
Rooms Inspired by the Month of December
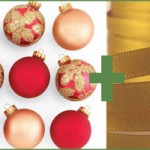
A Few *Christmas Ornament* Ideas Found Today
Friday Guest Blog Interview: Ruffles and Stuff!
Fabric of the Week: Tree House Interiors
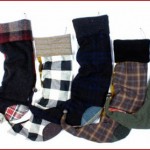
Handmade Christmas Stockings
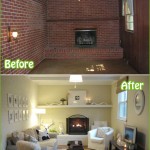
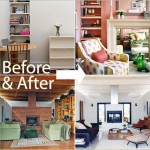
Before & After: Inspiring Room Renovations
« Previous Page
1
…
13
14
15
16
17
Next Page »