Pepper Design Blog
A Little of This & That... Renovating, Decorating, DIY Projects & Family
Affiliates
pepperdesignblog's ideabooks
Home
Making My Day Right Now…
Featured On: Project Nursery!
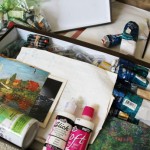
Office Makeover: Wall Collage Refresh + Art Finds
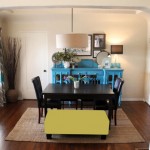
Dining Room Update: The Tale of a Tree
A Letter Writing Station
Curb Appeal: Transforming the Side Yard, Part 2
Dining Room Update: New Ikea Art Illustrations
Curb Appeal: Speaking of Trim…
Office Makeover: Progress!
Curb Appeal: The House is Painted!
Living Room Refresh: A New Antler Accessory + the Rose Bowl Flea Market
Friday Guest Blog Interview: Emily of Jones Design Company
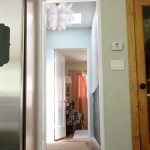
Hallway Makeover: Lighting Ideas
Living Room Refresh: Semi-DIY Colorful Canvas Art
Curb Appeal: Our Saltillo Tile Porch
Project Nursery: Dipped Table Legs
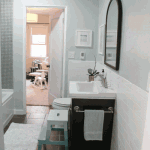
The Guest Bath: Getting a Little Ombred Away
Tackling A Few Summer Projects
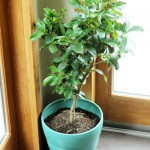
A Sweet (& Sour) Addition to the Kitchen
Dining Room Dilemma: A Colorful Bench
Curb Appeal: We’re Painting the House!
Living Room Find: (Another) New Rug
Dining Room Update: Curtain Call Part 3
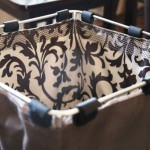
Project Nursery: Felt Owl Storage/Laundry Bin
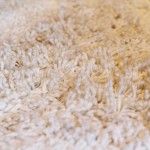
Dining Room Update: Rug Tour
Friday Guest Blog Interview: Jen of IHeart Organizing
Dining Room Update: Curtain Call Part 2
Dining Room Update: Curtain Call
« Previous Page
1
…
4
5
6
7
8
…
17
Next Page »