Pepper Design Blog
A Little of This & That... Renovating, Decorating, DIY Projects & Family
Affiliates
pepperdesignblog's ideabooks
Home
Inspiration: Fabric Bulletin Boards
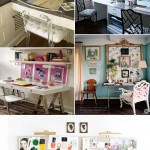
Office Makeover: The (New) Inspiration Board
Houzz Feature: Neat Fall Finds
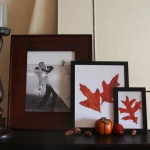
Decorating for Fall: Framed Autumn Leaves
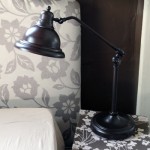
Office Makeover: A New Pharmacy Lamp
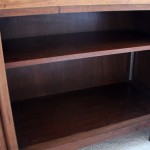
Office Makeover: Wallpapering Open Shelving
Friday Guest Blog Interview: Kyle of The Foundary
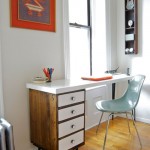
Office Makeover: On the Search for a Credenza
Living Room Update: Dried Flower Power
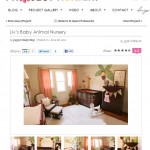
Project Nursery… on Project Nursery!
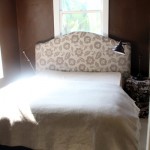
Office Makeover: DIY Headboard + A New Guest Bed
Office Makeover: All of the Trimmings
Office Makeover: Chop It Down, Chop It Down
Living Room Update: Plain, Safe White = Boring?
Living Room Update: New ‘Invisible Zipper’ Cushions
Office Makeover: A New Desk & Bookshelves!
Office Makeover: Plush, New Carpet
Office Makeover: Grasscloth Wallpaper
Office Makeover: Go Bold or Go Home
Office Makeover: Remnant Fever
Office Makeover: Chocolate Brown Walls?
Master Bedroom: A ‘New’ Salvaged Chair
Office Makeover: Plastering by Night
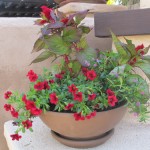
Adding a Little ‘Bloom’ to the Patio
DIY Furniture Addition: Overlays
San Diego Magazine: June, The Good Eats Issue
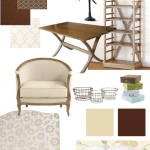
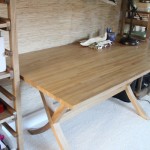
Office Makeover: Inspiration for a DIY Desk
Friday Guest Blog Interview: Sheila of Houzz
« Previous Page
1
…
7
8
9
10
11
…
17
Next Page »