Pepper Design Blog
A Little of This & That... Renovating, Decorating, DIY Projects & Family
Affiliates
pepperdesignblog's ideabooks
Renovating Adventures
Master Bedroom: A Good Place to Pause
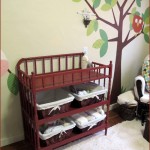
Project Nursery: Changing it Up
Wait… Can We Fit in One More Project?
Jazzing Up Ikea Curtains
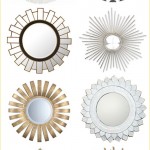
The Master Bedroom Revisited: Mirror Found!
Project Nursery: A Painting Party Weekend
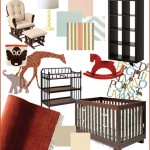
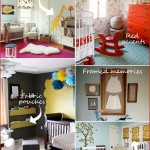
Project Nursery: Inspiration Board
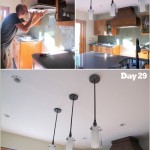
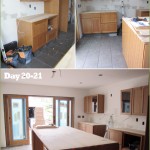
Week 4.5 of the New Kitchen: Little Projects Add Up
Project Nursery: Inspiring Rooms
Project Nursery: Stripe it Out
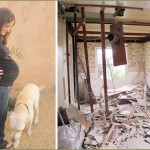
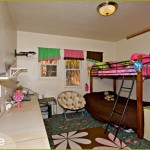
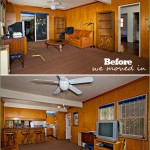
Project Nursery: Before We Moved In
Where Do You Keep Your Forks?
Kitchen Reno Week 4: Counters & a New Backsplash
New Kitchen: Tile Me Pretty
A Boo-tiful Mantel & Pumpkin Patch Fun
Week 3 of the New Kitchen: Walls, Floors & Doors!
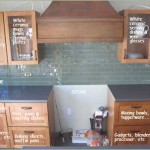
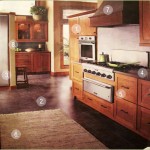
Inspiration for Our New “Modern Spanish” Kitchen
Guest Posting Over at Brooklyn Limestone
DIY Artwork: A New Map Board for the Bedroom
Week 2 of the New Kitchen: Time for New Walls!
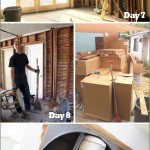
First 6 Days of the New Kitchen: Demo Time!
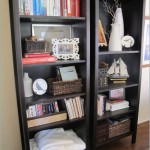
Bookshelf Styling: Ten Quick Tips
Quick & Easy DIY Wall Art
The Search is On: A Rug for the Bedroom
DIY Fabric Headboard for the Master Bedroom
Ethel’s First Egg!
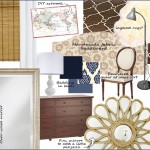
Master Bedroom: the Inspiration Board
Mirror, Mirror on the Wall…
« Previous Page
1
…
9
10
11
12
Next Page »