Pepper Design Blog
A Little of This & That... Renovating, Decorating, DIY Projects & Family
Affiliates
pepperdesignblog's ideabooks
Renovating Adventures
Kitchen Update: A New DIY Chalkboard Decal
Bedroom Refresh: New Curtains!
Tackling the Yard: Curb Appeal
Bedroom Refresh: New Curtain Fabric
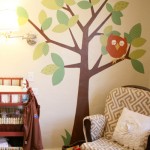
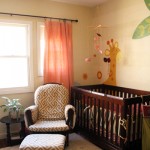
Project Nursery: Floating Shelves for Liv’s Tree
Building a Bathroom: Chevron Cloth Bag
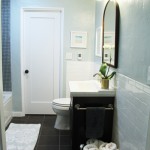
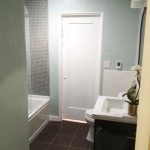
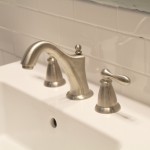
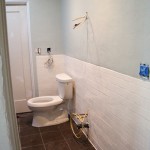
Building a Bathroom: Finished!
Project Nursery: Bookshelves for the Reading Nook
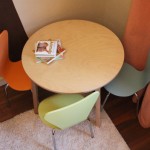
Office Makeover: A Little Chevron, Gold & Greenery
Building a Bathroom: Installing a New Shower Door
Office Makeover: A New Tufted Linen Headboard
Project Nursery: A Newly Updated Mobile
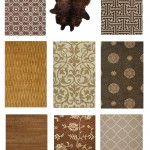
Master Bedroom: A New Rug + Austin, Texas!
Project Nursery: A Reading Nook
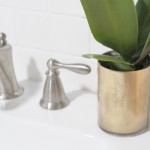
DIY Gold Mercury Glass & Gold Lined Ceramic Vase
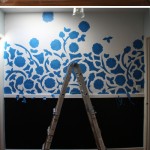
Hallway Makeover: Painter’s Tape Stenciling Project + Pinterest Challenge
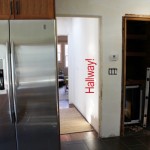
Hallway Makeover: Sneak Peek
Hallway Makeover: An Idea, A Color & A Challenge
Building a Bathroom: Mirror, Mirror on the Wall
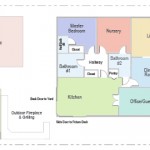
Renovating Adventures: Our Floor Plan
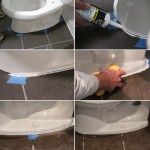
Building a Bathroom + Going Green: Installation Time
Whew…
Office Makeover: What I’ve Learned About Color
Office Makeover: A New Trellis Print Rug for the Rug
Office Makeover: Stuck in a Rut
Living Room Update: Butterfly Shadow Box Art
Building a Bathroom: Time for Color
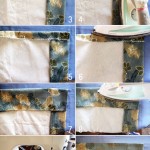
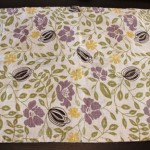
Easy Envelope Pillows
« Previous Page
1
…
5
6
7
8
9
…
12
Next Page »