Back with the how-to for the office’s new custom bulletin boards. You might remember the inspiration from this post and how I was really wanting to incorporate a colorful fabric into the otherwise neutral space (especially with the tan grasscloth wall, natural wood bookshelf and desk, and brown & white office organizing supplies).
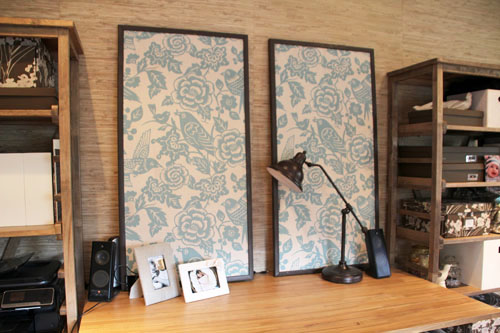
My solution was a teal Thomas Paul fabric in a fun print!
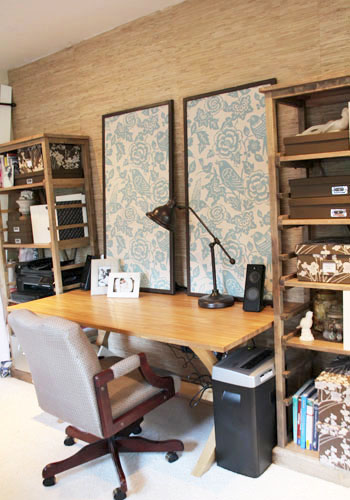
That image was before the boards were covered with inspirational images, photos of the family and other general mementos (such as invites, birth announcements, etc) that in general make me smile. A happy office is a productive and comfortable workspace. :)
PS that’s a new Craigslist office chair find — I love the casters and the wooden frame, though she needs a good reupholstering!
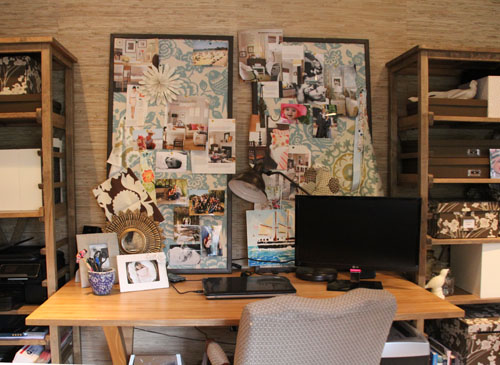
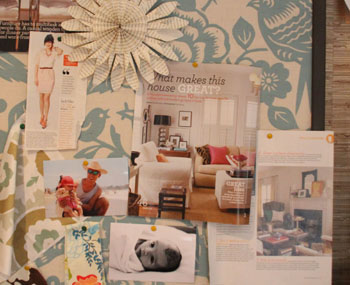
I’ll admit that it looks a bit crowded on camera but up close it’s the perfect mix of whimsical inspiration and practical projects that I’m hoping to tackle. I’m sure it will get less and less ‘pretty’ as the days go on and it gets stacked with calendars, to-do lists, excel spreadsheets and the like.
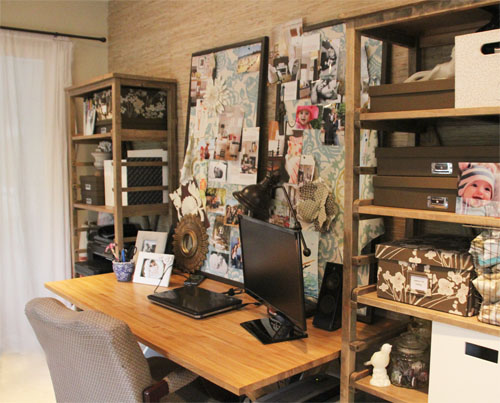
The best part is that this is the view from where I sit every day:
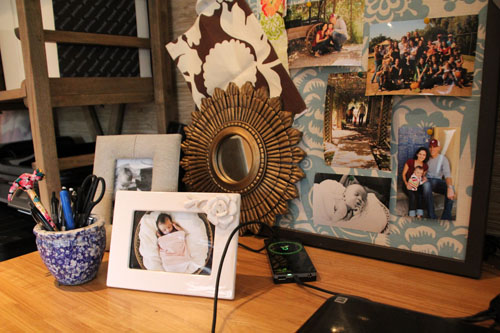
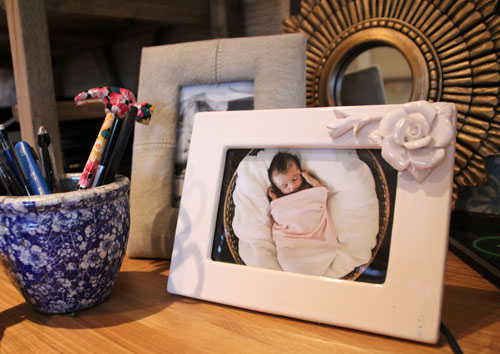
I had set aside enough photos of Liv to cover five of these boards, but I had to edit to several of my absolute favorites {how cute is that sweet baby!}.
**************************************************************************
Custom Fabric Bulletin Board
m
Materials: board cut to size (this will be the back of the bulletin board, I used dry erase board from Lowe’s because it was light weight), wood molding, fabric, cork (I found upcycled cork placemats from Goodwill and similar sheets at Joann’s to fill in the gaps–the thicker the better!), spray adhesive or white glue, miter box (or another tool for cutting 45 degree angles), spray paint, glue gun, nail gun, caulk and a caulking gun, rag, small bucket of water
{1.} I began by building the frames for my custom bulletin board. Using fabricated molding from Lowe’s, we measured the desired length out and cut apart the molding into four pieces per frame. Then a 45 degree angle was cut into each end so that when placed together they created a rectangle (thanks, Andrew!). A miter box is helpful for doing this by hand, but if you have access to a table saw that’s your quickest cut.
{2.} Next each piece was spray painted with several coats of matte brown paint (for best results spray at least 8″ from the wood and rely on multiple coats for the best finish. One close-up coat will definitely result in dripping and bubbles).

{3.} While the frame edges dry, let’s focus on the bulletin board itself. Choose a sturdy backing for your bulletin board and have it cut to size (Lowe’s helped me with this one and I ended up using a light weight dry erase board that they sell in sheets – though a stronger material might have prevented a bit of curving).
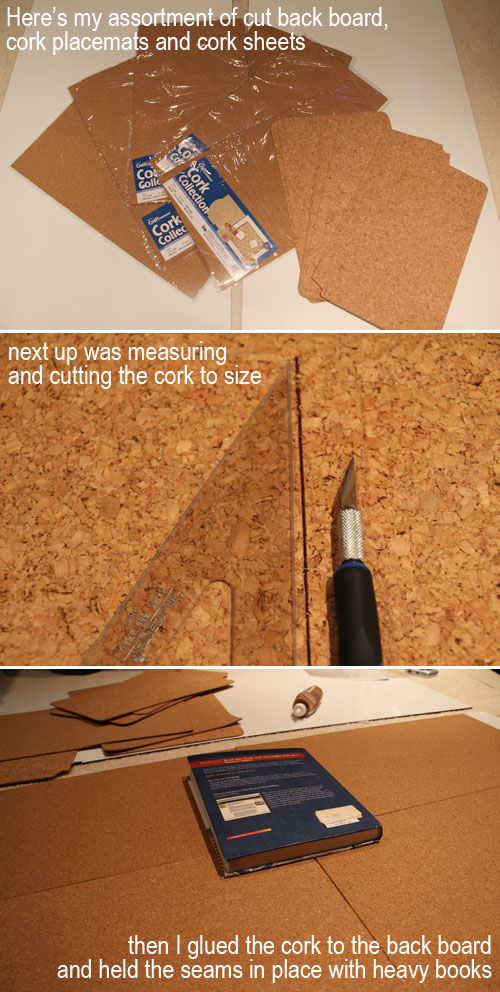
{4.} Use a spray adhesive or white glue (such as Elmers) to attach your cork to the board backing. I used an x-acto knife to help me cut apart my cork to completely cover the board.
{5.} Cut your fabric to size allowing for at least a 2″ hem on all edges. Flip board over onto fabric so that the board and fabric are facing down. While pulling taut, glue gun fabric edges to back of board to secure fabric in place (I first tried this with a spray adhesive but it wasn’t strong enough to keep wrinkles at bay). These pictures disappeared from my camera card! So here’s a recap of my formula for attaching the fabric:

{6.} Now it’s time to assemble the bulletin board. Attach each premade edge of the frame directly to the board with a strong adhesive (we used an adhesive that fit a standard caulking gun but you could even use a glue gun here).
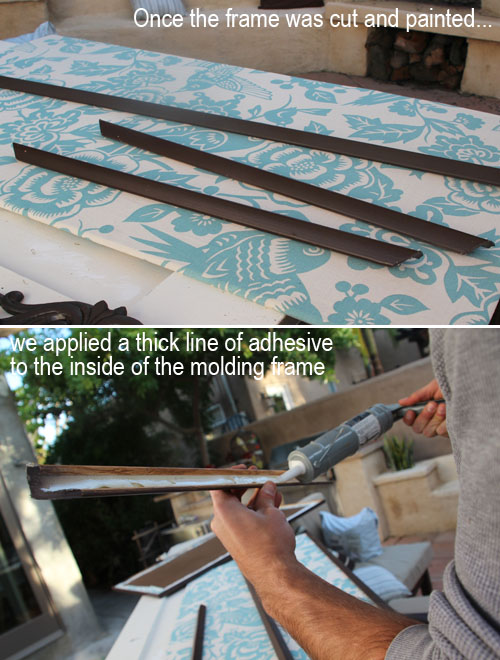
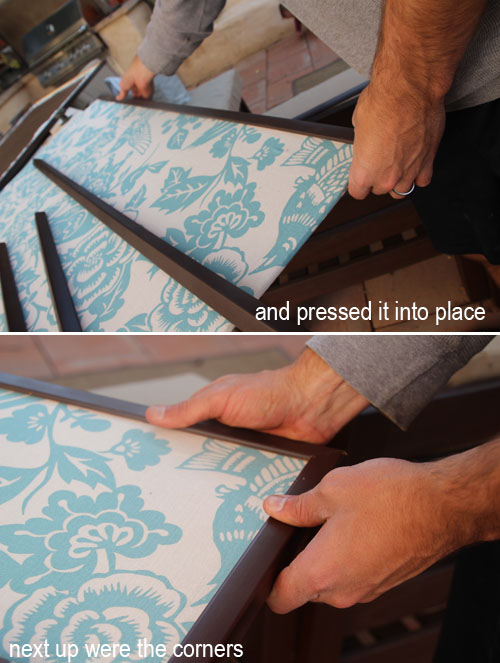
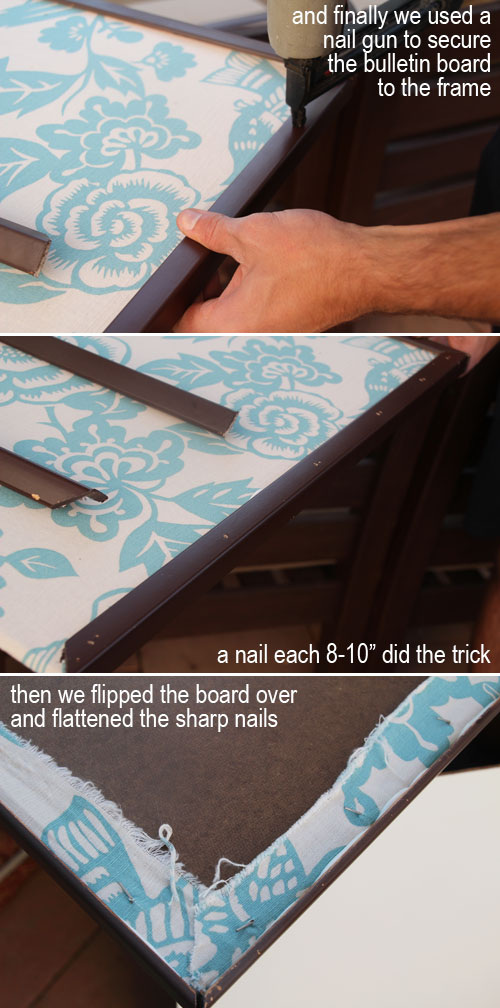
{7.} The adhesive keeps your edges in place while you secure the frame to the board with a nail gun. Be sure to flip the board over and use a hammer to flatten all of the pointy protruding nails.
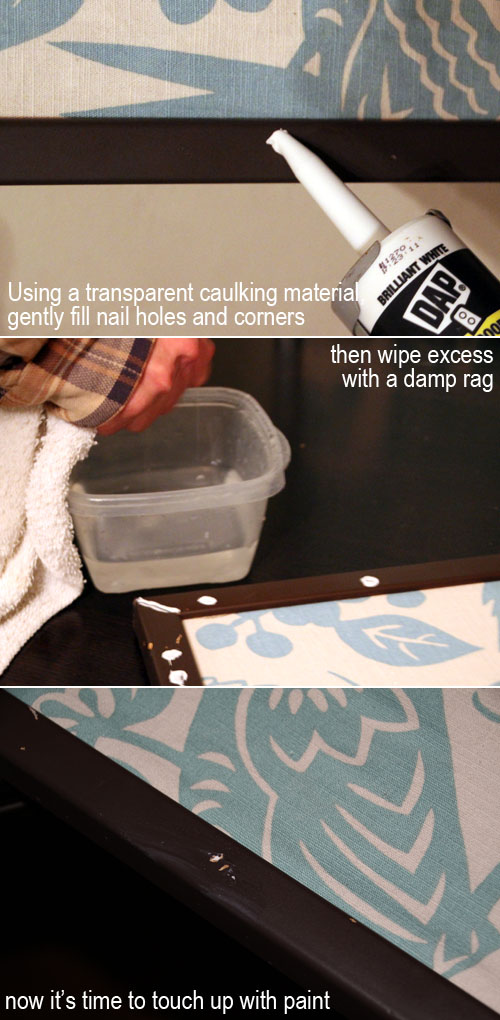
{8.} Flipping the bulletin board back over, apply caulk to your new nail holes and all corner gaps. Wipe any excess with a wet rag (keep a small container of water near by so you can keeping dipping as you wipe).
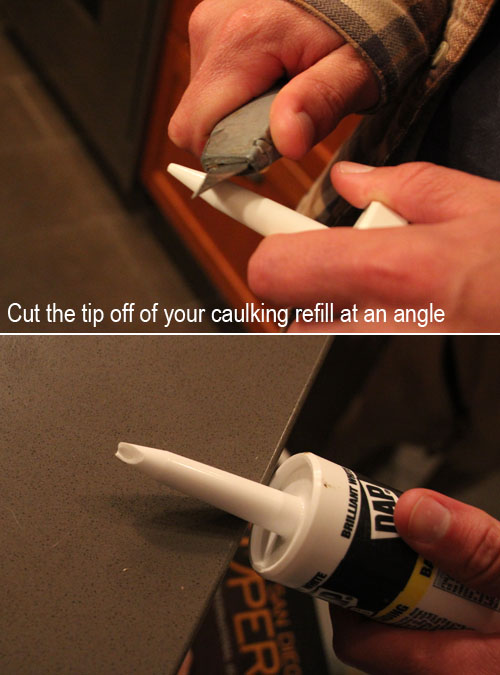
Here’s a tip for adding a new container of caulk or sealant to a caulking gun: always cut the tip at an angle with a strong utility knife, and be sure to cut away from your body.
{9.} Wait until the caulk dries and touch up any spots with paint (I simply lined the inside of the bulletin board with newspaper and spray painted over the spots needing a touch up, but you could use a brush as well). You might have a few holes still show through a bit, but it’s not obvious unless you’re verrry close.
You’re probably wondering why you couldn’t skip the first painting step and I considered this, but I was too nervous of covering the beautiful fabric with accidental spray paint leaks and found that just touching up at the stage (since the fabric is now in place) was easiest.
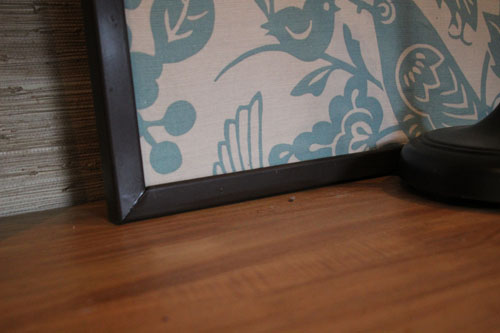
Now the bulletin boards are ready to be hung! I opted to lean mine up against the wall rather than hanging above the desk:
**************************************************************************
Yay for one more project crossed off of the list! And I really do love how they turned out.
For more Office Makeover posts, check out: handmade capiz pendant light, organizing the bookshelves, wall collage part 1, part 2, fabric bulletin board inspiration, (new) inspiration board, new lamps, wallpapering open shelves, finding the perfect credenza, new trim, dining table-to-desk, a new desk & bookshelves, installing remnant carpeting, grasscloth wallpaper, painting the office nook, finding carpet for the office, chocolate brown wall ideas, plastering progress, inspiration for a diy desk, back in action!, desking hunting for under $300, bookcases under $300,inspirational rooms, room layout options, demo part 1 & demo part 2.


oo, I like it all covered up in your inspiration/momentos. And even when it does get less “pretty” it’ll still be full of things you love, so it’ll still be great!
These look amazing! Love the instructions as this is exactly what I was planning on doing for my own office :)