I love moulding. I adore moulding. Rooms that are trimmed with baseboards, lined windows and crown moulding have that clean and ‘finished’ look that’s hard to beat regardless of how much decorating and attention other areas of the room get. It’s the icing on the cake, the cherry on top, the well-deserved encore. I wish I could heed my own advice and install moulding in every room tonight, but it’s one of those painstakingly slow projects that despite the great results, is usually last on the list to get done (part of that is for good reason… you want your carpet and your wallpaper to sit under the molding, after all).
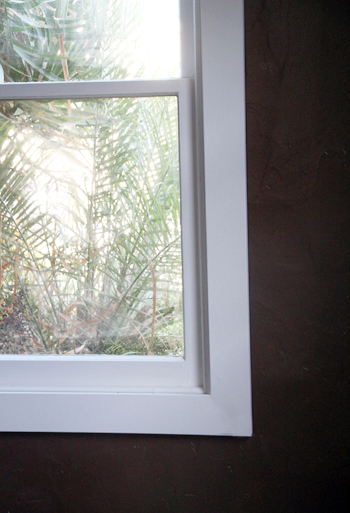
The new office just received her baseboards and window trim, though!
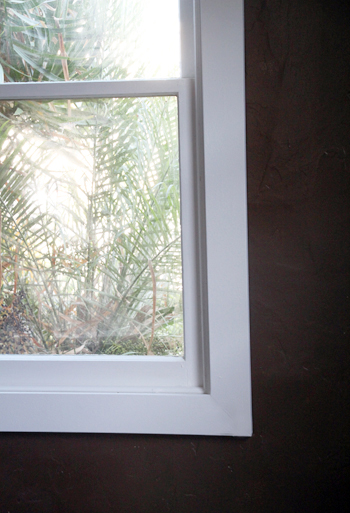
Wow, what a difference. Now that brown pops right off of the walls!
While traditional moulding can be quite fancy with all of the little grooves and edgings, I’ve always preferred classic and simple. It stands the test of time (in fact it looks more original in an older house) and provides a clean framing. I love the simple style so much that when purchasing, we opted for cheaper 1/2″ x 12′ boards rather than the pre-primed moulding options available.
For the floors, we chose a larger-than-average baseboard and it really helps to ground the space.
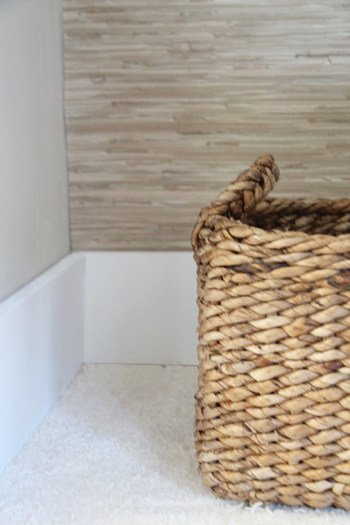
The trick to installing moulding as efficiently as possible is to measure twice, cut once (lesson learned). Each cut received a 45 degree angle so that the corners disappear into each other and it’s oh-so important that that 45 degree angle is cut in the right direction at the right length, otherwise you end up with a lot of re-dos.
With that comes the suggestion to make all of your cuts before you begin painting. It’s almost inevitable that you’ll make a bad cut and it’s such a shame when it’s on a 10′ baseboard that you’ve just primed, painted and repainted.

After painting and drying comes installation. We used a nail gun attached to a compressor for a quick install, making sure to nail the baseboard to the wall at each stud (usually 16″ intervals along the wall). The window trim received a nail each 8″ or so, plus the corners.
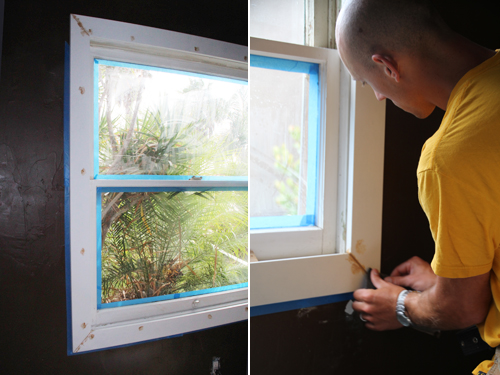
Next is caulking. We used plastic wood, a filler similar to caulking but one that dries as closely to wood as possible for the fewest seams. We filled those new nail holes, creases and gaps and then gave the plastic wood a good day to dry. A generous amount of sanding ensured that the filler was even with the original wood trim.
Finally the molding was painted over one last time to hide all of the new brown plastic wood filler spots. Speaking of paint, I read somewhere that bright white shows the most dust and that a shade just off will help to hide smudges. We’ll see how that works out!
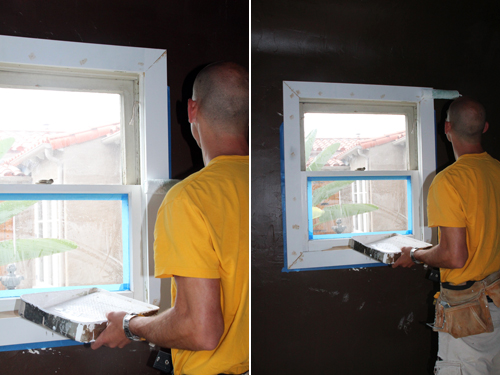
And now those rich chocolate walls have white (or just off-white?) trim to help brighten the space! It looks great and I wish I could wave the magic wand to outfit every room with this simple but great looking moulding.
We painted a ‘faux’ moulding while originally painting each room (here’s a little clip of the living room) when we first moved in, hope to replace this with the real deal someday:
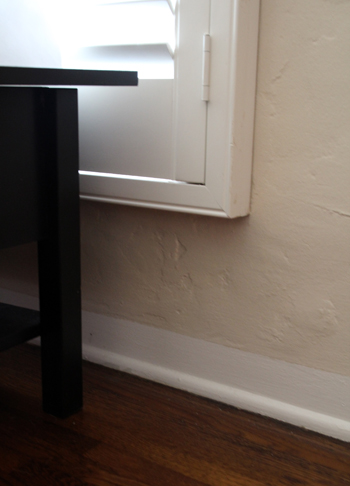
While we didn’t tackle crown moulding this time around, the room is beginning to take on that ‘finished’ look!
For more Office Makeover posts, check out: dining table-to-desk, a new desk & bookshelves, installing remnant carpeting, grasscloth wallpaper, painting the office nook, finding carpet for the office, chocolate brown wall ideas, plastering progress, inspiration for a diy desk, back in action!, desking hunting for under $300, bookcases under $300, inspirational rooms, room layout options, demo part 1 & demo part 2.


Very clean and neat look, now you can tell there is a window !
Thanks, Stacy and Sandi!
Leslie, I know what you mean – a room with LOTS of corners is so time consuming! My suggestion is to hire that one out to a Craigslist pro – they would charge less than $100 for a room I bet and save you oodles in time and bad cuts! :)
~Morgan
I know it’s not what the post is about, but I LOVE the idea of the faux moulding! I’ve heard of doing that for ceilings, but never floors. Must try that myself! I definitely wish we could get crown moulding in our main area, but there are so many corners (at least 20!) that I am convinced we would waste far too much wood for my taste just on fixing bad cuts!
It’s looking great!!!
Stacy
We just finished the moulding in our nursery and I agree – it makes such a big difference! love the dark brown walls you’re doing.