I could oogle over those newborn photos from yesterday all day. ‘Preciousness’ in that last post is used in the verb form (the mom baby talk verb form), not as a noun – don’t worry, Liv’s nickname isn’t ‘Preciousness’. We call her much more exciting things like ‘monkey’, ‘squish’, ‘booger’ (why do parents get away with names like that?) and even ‘lovie’ (my favorite because it’s also a play on ‘Liv’).
But back to other adventures. And by Adventure I mean my perhaps comic encounter with the sewing machine this past week. Just to preface, I haven’t visited the old Singer since I was 14 (I keep relying on that excuse…).
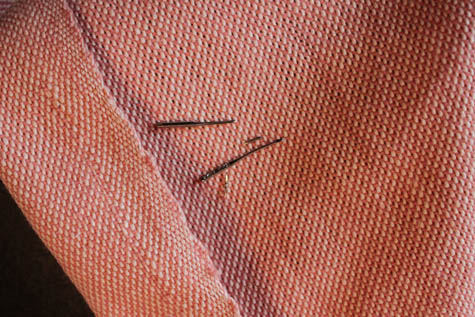
Yes, those are broken needles. Just two of three that I snapped yesterday, actually.
I’m sewing curtains for Olivia’s room out of what I think will be the perfect fabric for the space (hence my taking on the massive project of cutting, pinning, infusing, lining and sewing my own drapes). It’s a coral/pink fabric that compliments the colors that already exist in the gender neutral room, and it’s a heavy enough weave that should hang nice and pleated (and with just a bit of lining) keep the bright sunlight at bay during nap time.
Because it’s been so long since I’ve threaded a bobbin, I asked my good friend Trish to come over for dinner and a sewing 101 lesson. I was hoping it would be like riding a bicycle (you never really forget…) but a little guidance was a must. We made two new throw pillows from leftover remnants (more on that later) and I was back in the proverbial saddle.
I’ve never sewn lined drapes before, but I figured if I was going to sew my own darn drapes I was going to do it right and do it well .
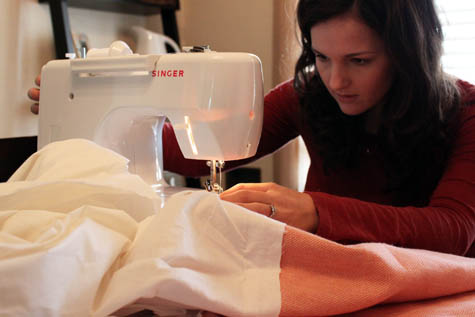
I followed Janell’s (from Isabella & Max Rooms) tutorial for lining drapes, she has included plenty of helpful photos and detailed descriptions to guide you though the process. If you’re embarking on a similar first time adventure, I highly recommend following along. But here is a shortened version of my overview as well.
Sewing Lined Curtain Panels
Materials: Curtain fabric, fabric lining, fusible interfacing, pins, iron + board, sewing machine, fabric rings
Step 1: Measure your window space and cut your fabric panels to the appropriate height and width, being careful to include enough fabric for your hems. I added an extra 4″ for a hem at the bottom of the curtains (to give it a bit of weight) and 4″ for a hem at the top (to hold the folds of the fabric as well as the rings to hang the fabric with). Because my fabric is a solid color, I didn’t have to take into account matching up patterns between the panels (you’ll want to make sure your fabric starts at the same pattern point on all panels).

A good width ratio is 2:1, or being sure that your fabric is twice the size of your window space (my curtains won’t be as wide because of the awkward size of the three windows in the nursery, but we’ll make it work.)
Step 2: I added a strip of fusible interfacing to the top curtain hem to help support the structure of the final curtains. I probably could have gotten away with skipping this step because my fabric is so sturdy, but I included it anyhow and I can see how this would be a must for most fabrics.
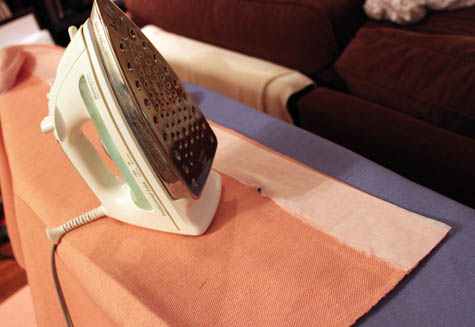
Interfacing is cut to the width of your fabric and at a 4″ length (or the length of my hem) and pinned into place. Pinning helps to ensure you’re interfacing stays lined up with your edges the entire time. Follow the directions on your particular fusible interfacing package, but I used the iron on the wool setting and applied the course end of the fusible fabric directly to my curtain fabric.
Step 3: Fold over your top hem (right over that interfacing) and re-pin, press the hem closed with your iron.
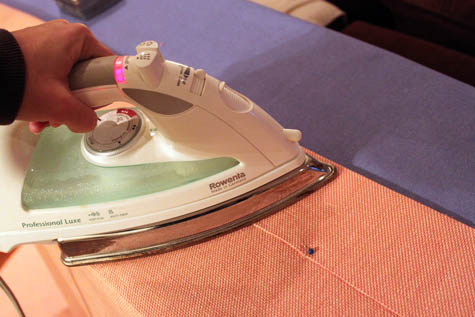
Now you have a very sturdy top hem!
Step 4: Start your side hems. Fold the fabric edges 2″ over at each side and press into place (it’s extremely helpful to press everything before sewing it!).
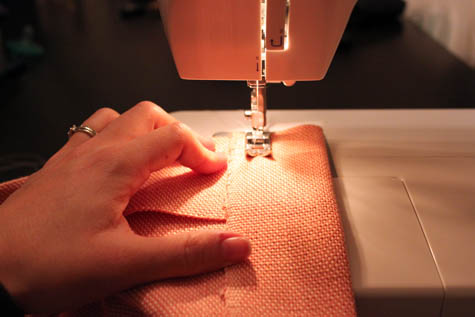
Then bring that newly pressed corner edge over to your machine and run a quick line of thread down to the edge of the hem. See that area under my hand? That’s the top hem we just created with the pressed fusible interfacing inside. I simply folded over the outside fabric to create the corner. You could also sew this step by hand instead of using your machine.
Step 5: Now we start inserting the lining. Your lining should be cut to fit the inside of your hemmed curtains + enough for a small hem for the lining. Confusing, no? Check out Janell’s diagram here.
Press the bottom of the lining to create your bottom hem (mine is 2″). Janell recommends sewing the entire bottom of the lining here as well to avoid having to do that when the lining is attached to the curtain.
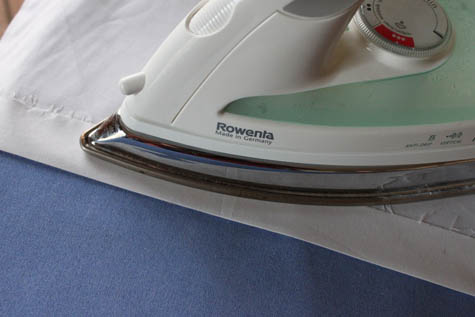
Step 6: Now the top of the lining gets pinned into place just inside the curtain hems. Here you can see that when my lining is flipped back over, the pins will be underneath the lining and the hem will be invisible. Sew into place.
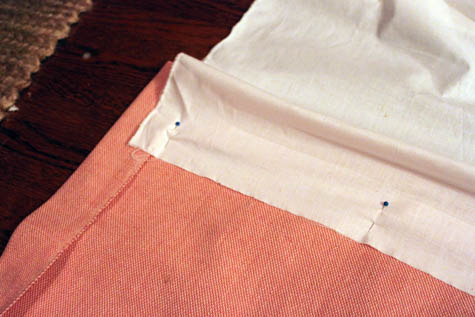
Let’s pause here. That’s a lot to take in!
Don’t get frustrated if you find yourself doing a lot of this:
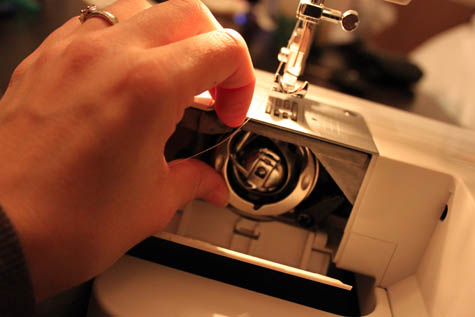
Or this:
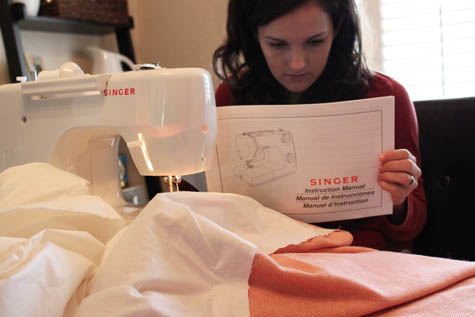
After all, that’s what happens when you do this:

And after banging my head against the wall I calmly returned to the machine, replaced the needle, and kept on going. Because I’m really proud of these curtains. And because I really can’t wait to see how they look when they’re up!
To be continued! (Oh, be sure head on over to Isabella & Max Rooms, what I cover in two sentences Janell patiently explains in several thorough posts. And it’s wonderful.)
If you’re catching up on Project Nursery, here’s a link to the fabric board, curtain fabric selection, rocking horse find, new pendant light, vintage wall art addition, changing table makeover, nursery wall striping tutorial, painted animal project, the initial inspiration board and the before picture posts.
Happy three day weekend!


The purposes of drape fabric are normally for embellishing purposes. Hinging on the sort of room, the window ornament fabric varies. Curtain fabric moreover goes in diverse purposes.
Love the tutorial! Very good step by step instructions!
Thanks, Heidi. That’s a great suggestion, I should try an upholstery style needle or something made for thicker fabric.
~Morgan
Are you using the right sized needles for your fabric? They usually break if they are too small to handle the thickness, especially when you are sewing multiple layers. Good luck!
Inanimate objects can be so frustrating. I’m teaching my 9-year-old to sew and both of us have had to just walk away for a while. Can’t wait to see the new curtains hung in the room.
YAY for sewing! Get back in there girl. I have had no motivation to sew for a while but actually this evening sewed a cushion cover. This post is perfect as I need to sew curtains for my girls’ room.
Yes, keep up the good work Morgan! They are going to look great. I am amazed that you can do all this w a newborn!
xo,
c
Morgan. keep up the good work. Here are two great sewing websites I listen their podcasts too.
http://www.sewmamasew.com/
http://www.creativemompodcast.com/blog/
Thank you, Suzanne! I will definitely be checking out those podcasts…
~Morgan