Pepper Design Blog
A Little of This & That... Renovating, Decorating, DIY Projects & Family
Affiliates
pepperdesignblog's ideabooks
Liv’s 5th Birthday (and a Trip to the Snow)
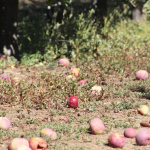
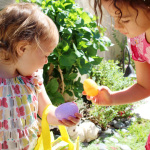
Apple Picking!
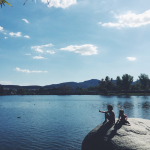
Around Here: A Park Date
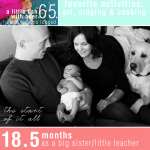
Three Things…
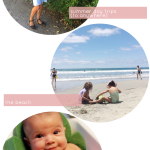
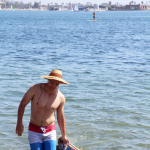
Father’s Day 2015 in Mission Bay
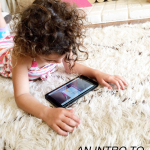
How to Listen to Audiobooks on OverDrive
Liv & Taylor-isms
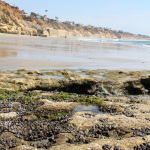
A Day at the Tidepools
Everyday Stuff.
Marlowe’s Newborn Photos
A New Daybed for the Girls’ Room
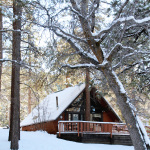
A Snowy Mid-Week Getaway
Liv’s 4th ‘Sparkly Star’ Birthday Party
Happy 4th Birthday, Liv :)
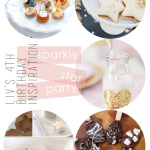
Liv’s ‘Sparkly Star Party’ 4th Birthday Inspiration
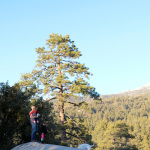
A Snowy Day Trip to the Mountain Town of Idyllwild
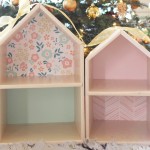
A DIY Wooden Dollhouse
Everyday Stuff.
Impromptu Picnics and a New Living Room Lamp
Sisters
Around Here…
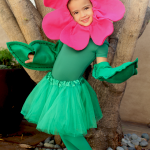
My Flower Girl
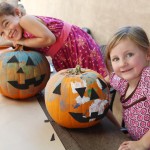
The Pumpkin Patch
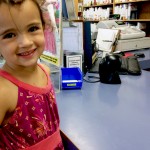
Library Dates
My Favorite Liv-isms
My Favorite Liv-isms
Random Thoughts: Having Girls
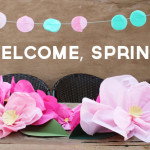
A Spring Party
1
2
3
Next Page »