Hey all, checking in to wish you a beautiful October day. Gosh, what is it with the changing seasons that causes everything to go just a little bit crazy?
Fall has arrived. With it, a major changing of schedules (funny how school schedules throw everything off – I felt that way at the start of summer, too) and a major changing of life in general. It’s in the air. It’s as thick as butta over here. You could cut the changing with a knife.
I started this blog something like 7 or 8 years ago when I had just gotten married, was smitten with a cool consulting job (where I traveled a ton) and hadn’t really found ‘home’ yet. Kev was deployed, so I got to spend a lot of time with my computer. This blog was and is my creative outlet – my little piece of the universe where I chat about things that I dig. The blog evolved as the ‘things that I dig’ has evolved. We bought a house. We had babies. We changed jobs and went back to school (the hubby) and kept on keeping on. I used the quiet, extra hours of my life to keep a digital journal that is this space. It’s kept me accountable to choosing only my favorite iPhoto pics (and even sometimes editing those), it’s helped me to work through my strengths and my weaknesses with work and parenting, it has helped me share the little pleasures in life that keep me happy (crafts!, cooking, mixing up a cocktail from scratch, decorating my home, following my kids around with a camera).
Those quiet hours that I can dedicate to such a hobby are changing, too. I’m sure you’ve felt it if you regularly swing by here – this year has gone from me popping in up to four or five times a week to just once or twice as of very late. It’s been challenging, but! I have always shared my love of searching for that ‘life balance’ and what that means health-wise, relationship-wise, family-wise, business-wise. And sometimes ‘hobby’ is only a small slice of the pie. I allot hobby hours out soooo carefully, but then I have to stop (any balancing momma can tell you moderation is the key) or I start to steal hours from things like health, relationships, family, business and everything in between.
So what’s taking up some of those hobby hours? I am working on a new and amazing project that is giving me so much life I can hardly handle it. I’m in the baby building (of this project, that is) trenches right now and am preparing for a big launch in November. All I can say is that it has to do with crafting, it might be a little (a lot) addicting, and that it’s going to be epic. I can’t wait to share.
I’ll be here! I’ll be using this digital journal to share the usual, but just a little bit slower. Our bathroom still needs that big reveal (come on, baby, it’s time to get that bad boy wrapped up!). My children definitely still need chasing with a camera.
I can be found over on Instagram most regularly, it’s a social media outlet for me that is less curated (warning: really no curation at all) and more just life.
A special note: if you have stuck around for any or all of these blog-filled years, thank you. I appreciate you so much. See you soon, just not quite as often.
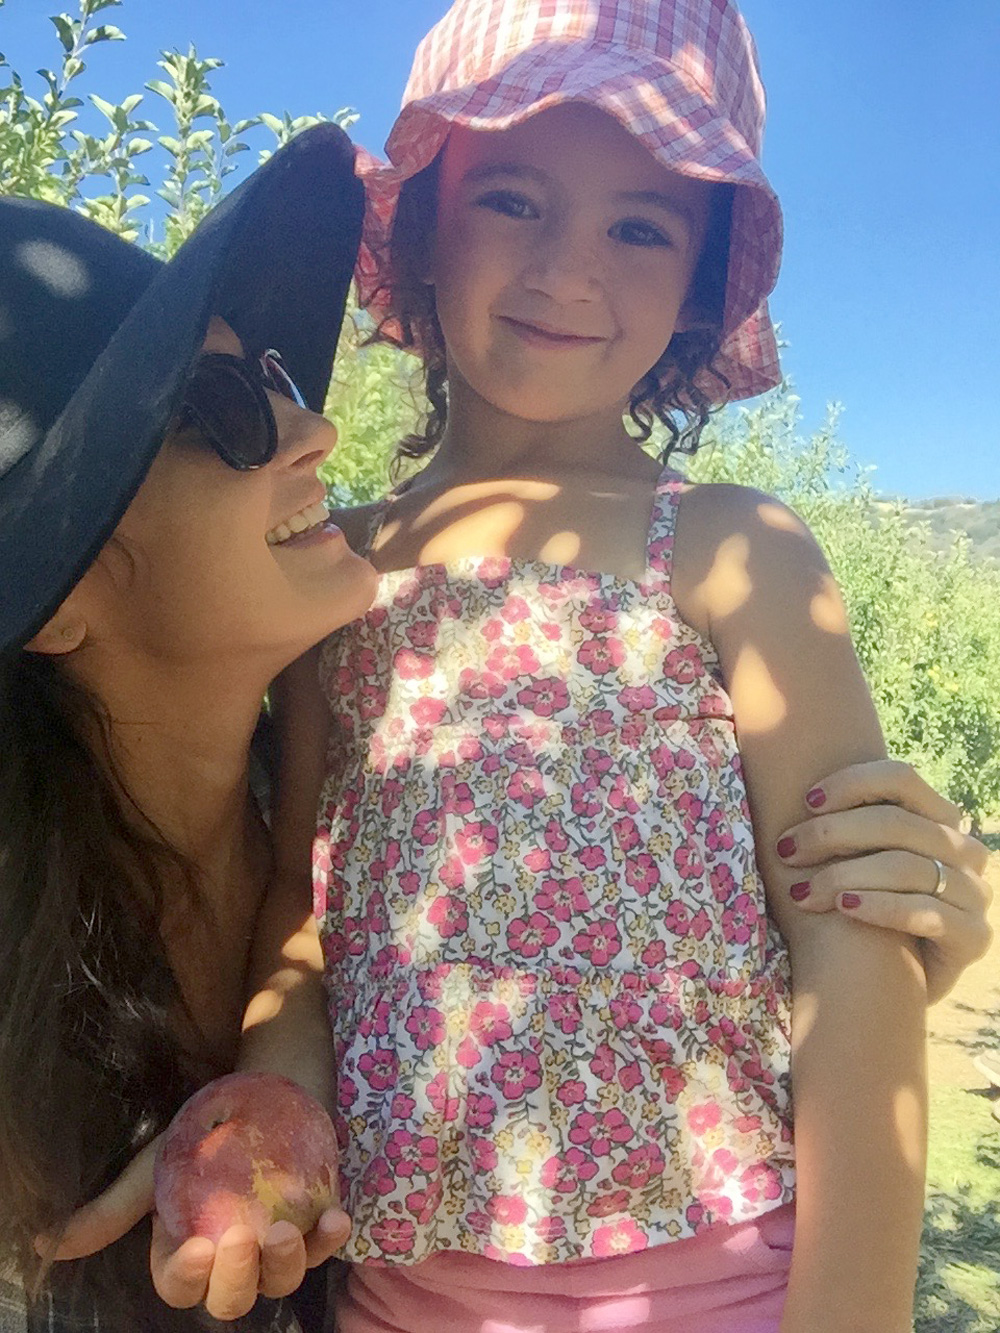
ps Photo above is from when we went apple picking recently, it was so super. If you are a native San Diegan, check out the orchards near Menghini Winery in Julian. They also host an apple festival one weekend a year (two thumbs up). Wine tasting and fresh apples? Sounds so good, right?