I have a fun project to share with you today!
I’ve been on the hunt for a neat centerpiece (to either DIY or buy) for the big outdoor table that Kevin built on our new deck and am so happy with how this oversized planter’s box project has turned out. My favorite might be the pops of color in the form of five added geometric hexagons.
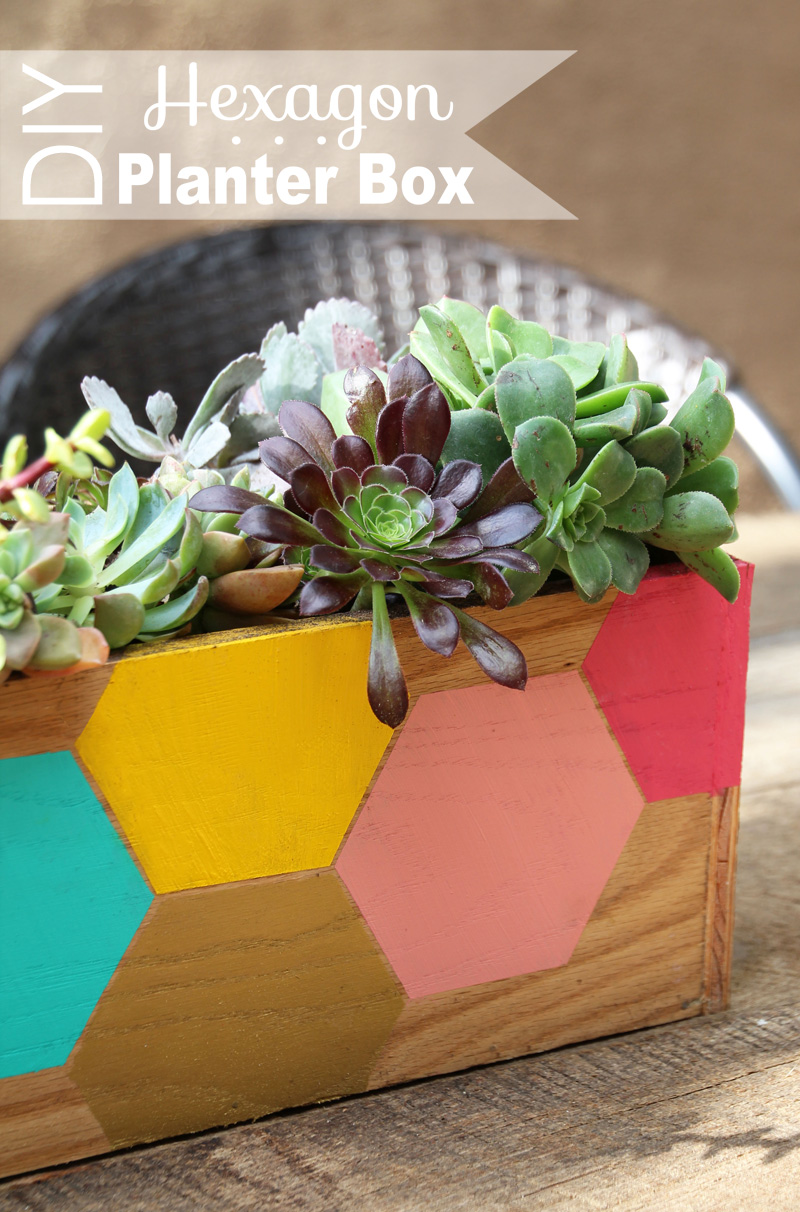
Succulents and I get along really well, and they look so pretty all together in one large container! I’ve been wanting to play with them more in our garden in unique ways, maybe even designing a succulent wall along the back bbq area.
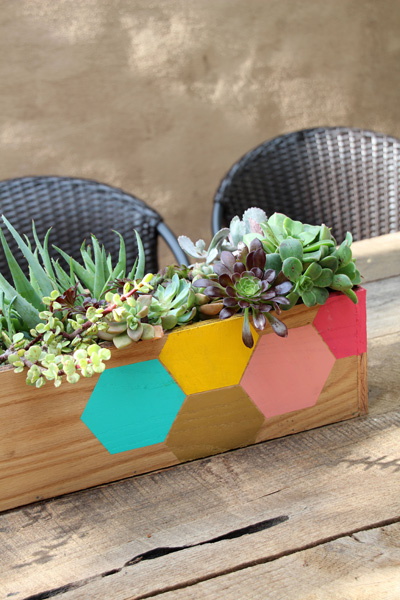
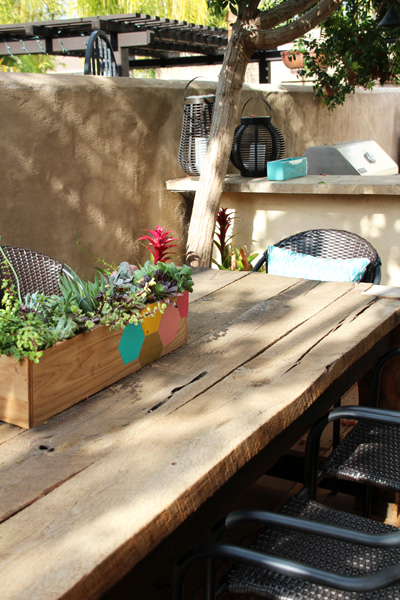
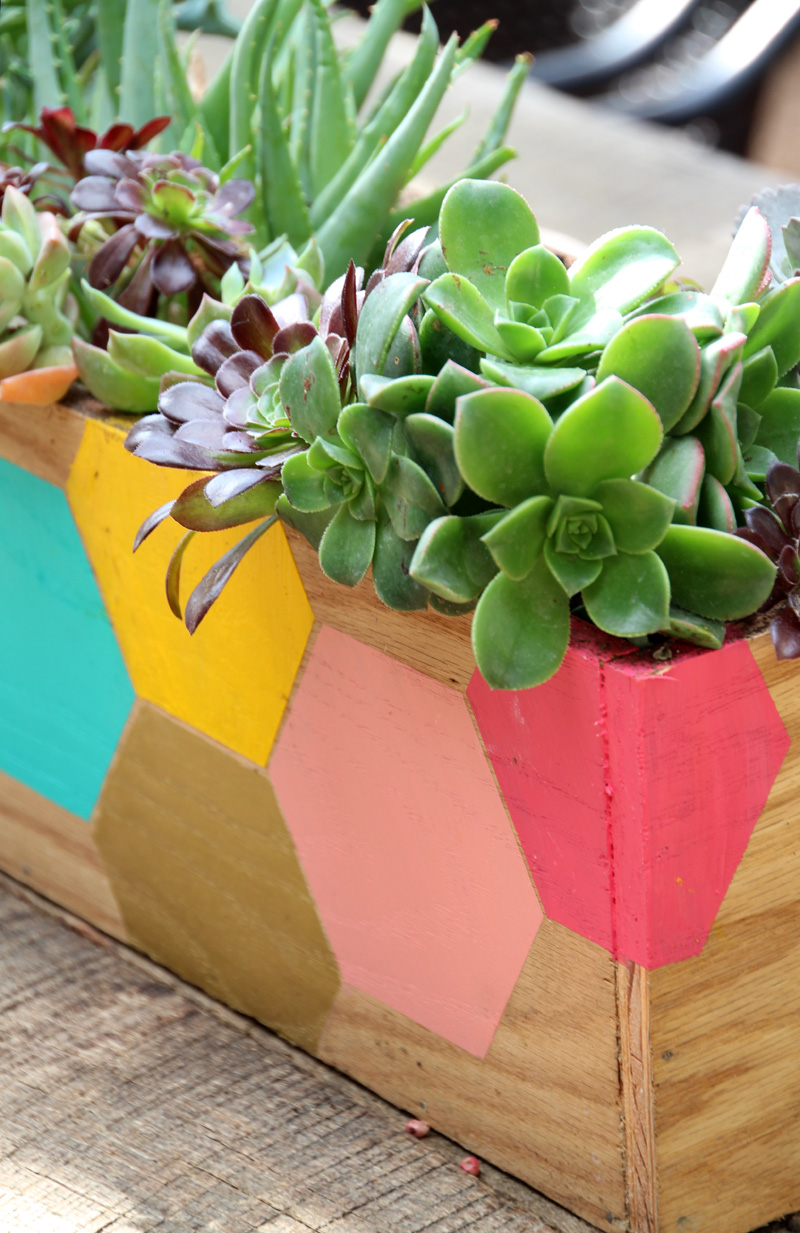
The hexagon pattern wraps over the top edges of the box and along one corner as well, I love the symmetrical pattern and how the painted shapes work together but provide their own little bursts of bright, unexpected color.
I was actually inspired to finally getting around to finishing this project by Katie and Sherry’s Spring Pinterest Challenge:

It provided the inspiration needed to pull my materials together and take a couple of hours to build, stain, paint and plant my new succulent centerpiece. :) The goal of the challenge is to take a pinned idea and make it happen – here’s my pinned inspiration:
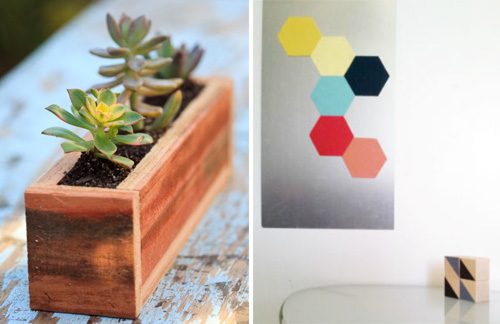
This lovely wooden planter box from The Growing Wall and these neat felt hexagon shapes by Squared Array. I imagined them as potentially very pretty when combined together.
Let’s get into the nitty gritty…
The process for building my initial planter was pretty simple. To keep material costs on the low end, I purchased a single piece of 24×28″ plywood from Lowe’s and asked the technician to cut the board horizontally into three strips that were 24×6.5″ in size and the remaining 24×6.5″ piece into two 6.5″ square sides. That used up just about every inch of the wood perfectly (I had just one large rectangle left over).
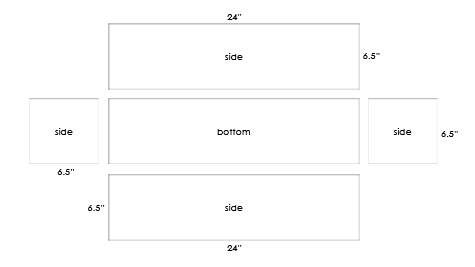
Cutting plywood often causes freying at the edges so if I had needed a more exact cut I might have opted for real (rather than compressed) wood instead. But this worked out perfectly as the cuts were kept to a minimal and the plywood cost just $6! And all of the cuts were made at Lowe’s so I didn’t have to bring the board home, pull out the table saw and add that extra step to the process.
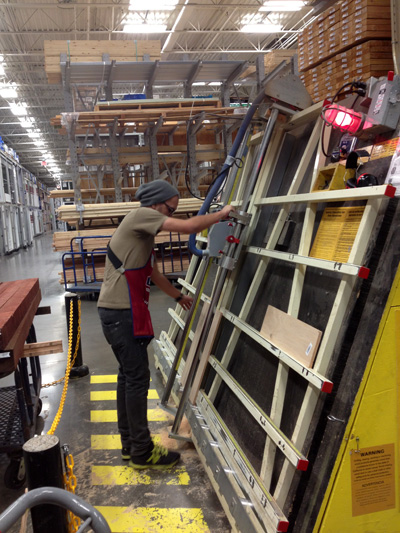
Thanks, Lowe’s man.
To nail the box together I used small tack nails that I had on hand.
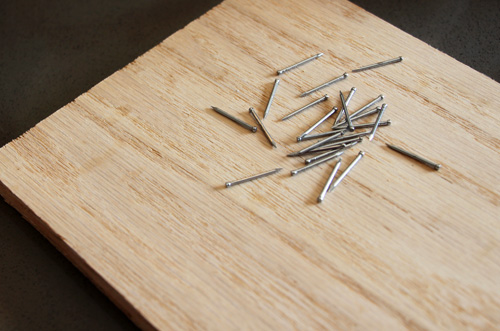
As well as my trusty floral hammer! No need to dig through the garage and pull out a massive hammer from the tool chest, I really love having my smaller-than-average tools in my office and waiting for everyday use.
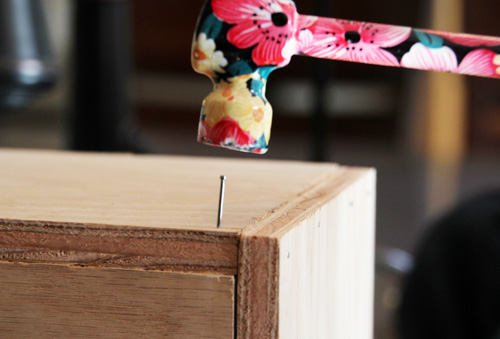
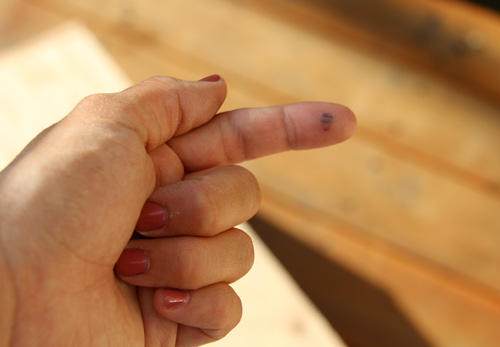
I placed a nail every 3″ or so along all edges of the box that met with another edge. 32 nails and one finger later, and the planter box was assembled.
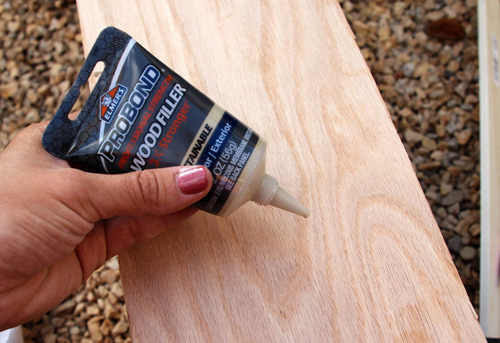
To hide the silver tops of the nails, I used a stainable wood filer that we had on hand (but I would say that this step is optional).
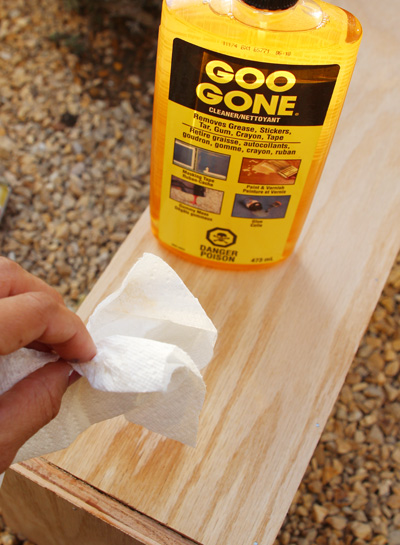
And to remove any pesky store barcode stickers (why do they make them actual stickers??), a little Goo Gone.
We have a decently sized stain collection from various projects in our garage so I chose from two of the lighter finishes. I ended up using both the “ash” and “oak” (oak first followed by a quick layering of ash) to give the box a slightly birchy, slightly weathered look.
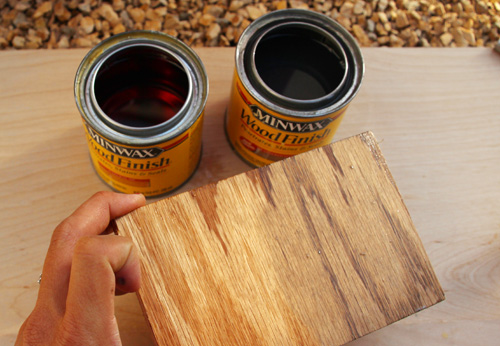
With the glare of the light it’s hard to see the finished stain coat here, but the coloring came out just as I had hoped.
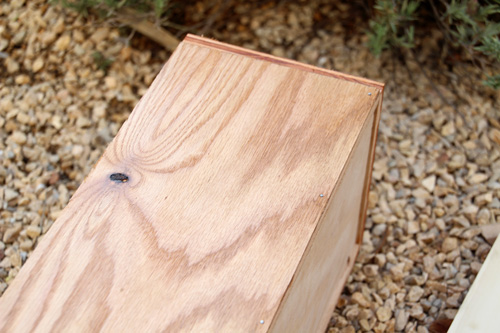
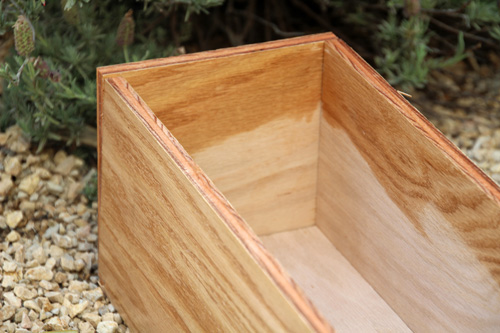
I stained the first few inches of the inside of the box as well, the rest will be filled with soil and will be pretty much unnoticeable.
To make my hexagon painted shapes, I printed out a basic hexagon outline (using the Illustrator shapes feature) on to cardstock. Feel free to download my copy here. Laying out the cut out shapes in various formations helped me to come up with a final pattern.
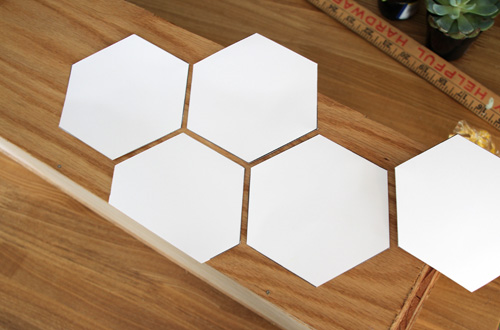
Using that pattern as my template, I taped out the various paintable hexagons one at a time.
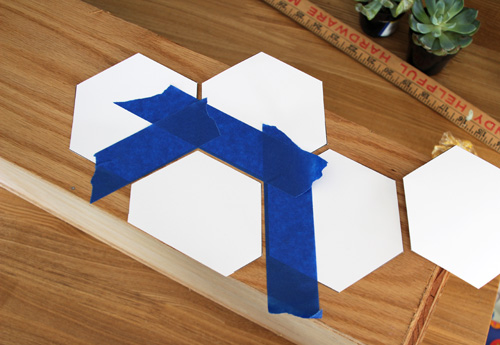
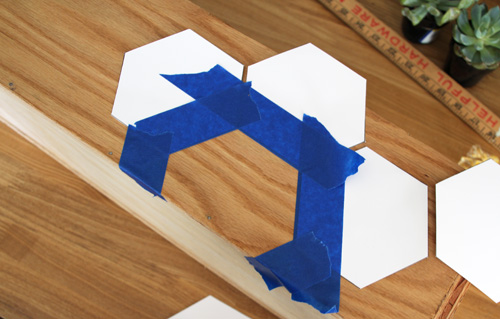
And slowly filled in the taped off areas with various colors. You can see that I left a sliver of wood showing between each shape, I love that little detail.
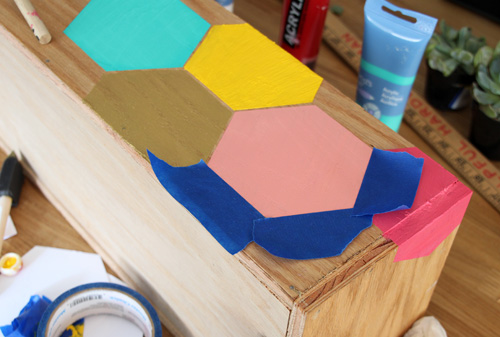
Press down solidly on those edges to prevent any under tape bleeding! And as soon as you’ve applied the paint to the wood, pull up that tape right away for a flaw free line.
Next up was planting. I found it was cheaper to purchase most of my succulents in one large prearranged plastic round planter from Lowe’s (that I broke apart and replanted), then supplemented with littler containers and cactus from our garden.
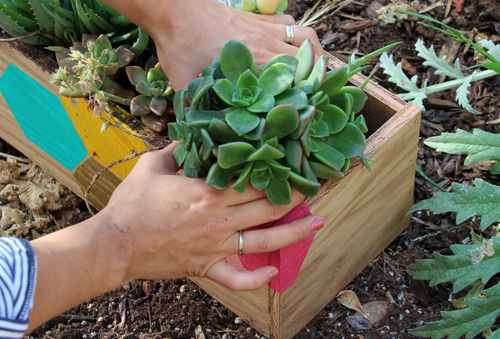
Finished!
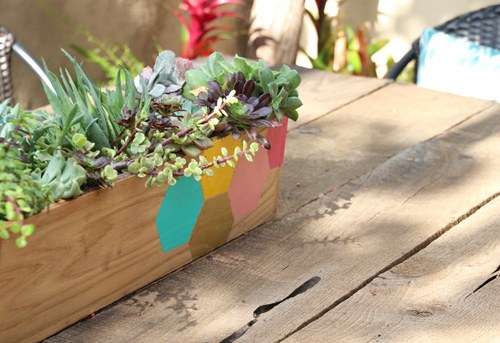
A new, pretty centerpiece that is just the right size for our 12 person table. This will look great in the summer for outdoor picnics and parties – I’m picturing a pretty table set in whites and navy blues, or even pinks and mint greens to compliment the colors of the planter box.
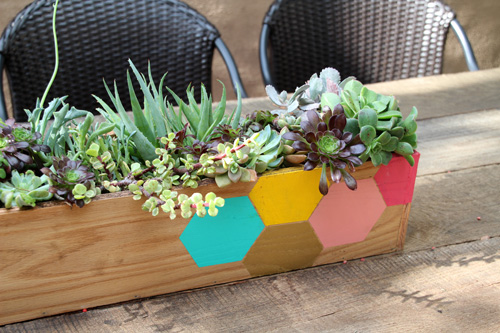
The hexagon shapes are definitely my favorite part.
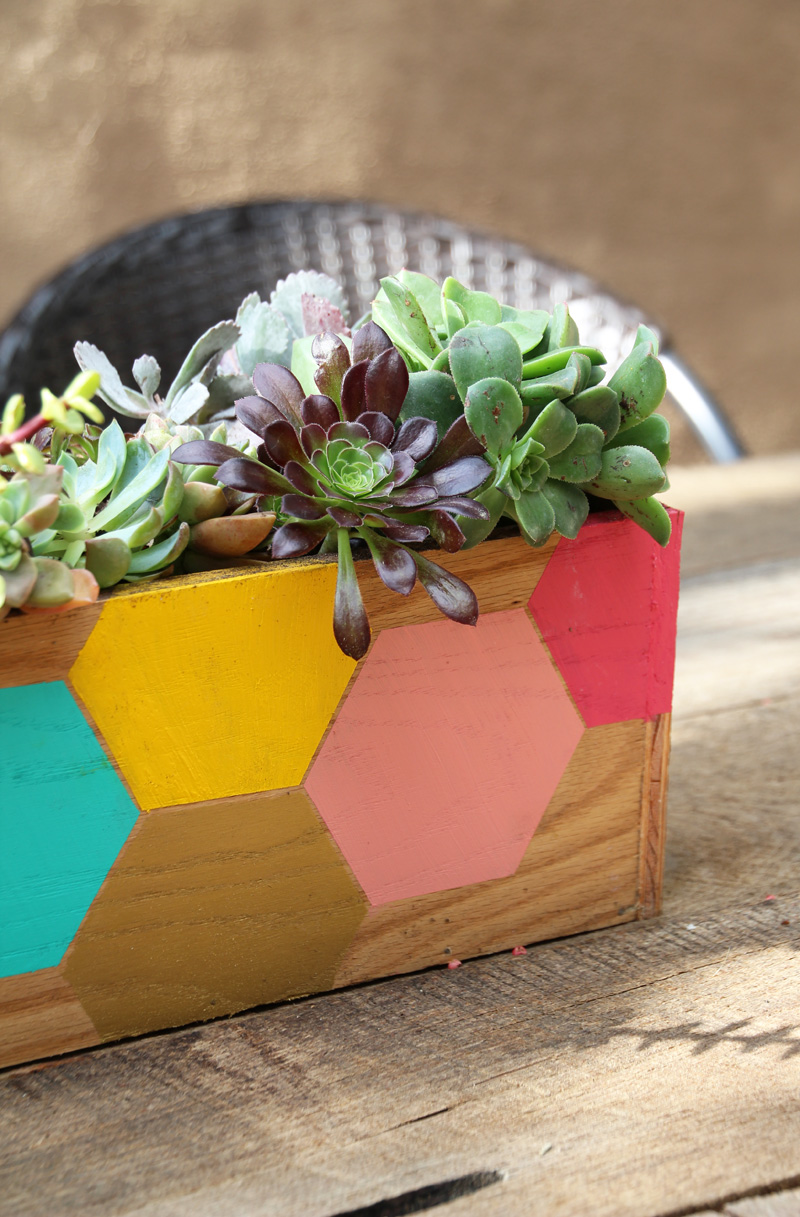
I will be linking this project up with the four hosts of this season’s challenge: Katie, Sherry, Emily and Renee. Check out all of the great projects!!
Here’s a link to my previous Pinterest Challenge projects (including the fireplace facade that has an exciting announcement to make soon, an ombre step stool for Liv, faux gold mercury glass, a chevron cloth napkin project, a painter’s tape stenciled hallway and so many more fun ideas…).


I hope you don’t mind, but i featured this lovely project on my blog today!
Have a great day!
http://www.lemondropblog.com
Thanks so much, Brooke!
What a great idea!
I have been thinking about making some flower boxes and recently wrote a blog article about it with inspirational photos. http://billiemakesahome.info/?p=584
Billie
Just bought the wood for the pattern and I realized the bottom piece has to be about 24 by 5 1/2 if you have a1/2 in. Thick board. Right? Or am I just doing it wrongwrong? :/
24×6.5″ should do the trick! I lined it up so that the two long sideboards sat side by side to the base, and the two end caps cleanly cap everything off, aka the longer side ends can’t be seen. I hope that makes sense!
Hi,
I was wondering do you worry about wood rot? I mean when you have to water your succulents what happens to the moist soil against the wood?
Did you have to line the bottom with activated charcoal and pebbles to let it drain to also avoid root rot?
I wouldn’t recommend an unlined wooden planter for a potted plant that wasn’t a succulent (they just need too much water and rot would be a huge issue) but because I water these guys with a couple of ice cubes every few weeks I don’t worry about the wood getting wet. If the rain starts taking a toll (we hardly get any rain here in San Diego :)) I will probably have to devise some sort of plastic liner (a piece of plastic painter’s drop cloth maybe?) to help. Not worried about drainage though as my understanding is that succulents really shouldn’t be watered to that extent. Good question!
I had the same question about wood rot. Now I’m wondering how you get ice cubes into the tiny spaces if your succulents are as pictured. (Sorry. I need special specifics or even my succulents and cactus will die.)
Hi Karen! I usually place the ice cubes between the succulents (they are not so tightly spaced near the roots). Hope that helps!
Ok sounds good. Thanks so much for the info!
You are very welcome!
What a great centerpiece! I love succulents, but can’t seem to keep anything alive. Everyone in the house knows that if it’s in dirt, it’s the husband’s job to keep it alive. Love the way you created your template…it’s a fantastic way to ad-lib a design…which is my favorite way to do things! All in all, I think it was worth the pain in the finger!
Haha, I think so too! A couple of days later and no pain in the finger ;).
I love the hexagons! what a neat idea. I think I’m going to make my own now!
//justynn
Very, very cool (well, except for your poor finger!) The result is amazing, and just the perfect addition to your table!
LOVE this! I am currently just swooning over succulents, terrariums, and geometric shapes combined…I am going to share this on my blog tomorrow if that is okay with you!
Thanks, Lauren!! I’m right there with you!