
Happy Monday! A while ago I shared two special spaces in our home – I’ve been affectionately calling them ‘maker’s spaces’ because they’re two creative spaces in the house that we’ve set aside for the girls. Sadly they often become stacked with toys to put away (in the case of our table) or slid behind nursery gliders and baskets (in the case of our boards) and I have to remember that they have to be seen to be used!
But, when they are used they are so loved. (Mental note to keep them clear from here on out.)
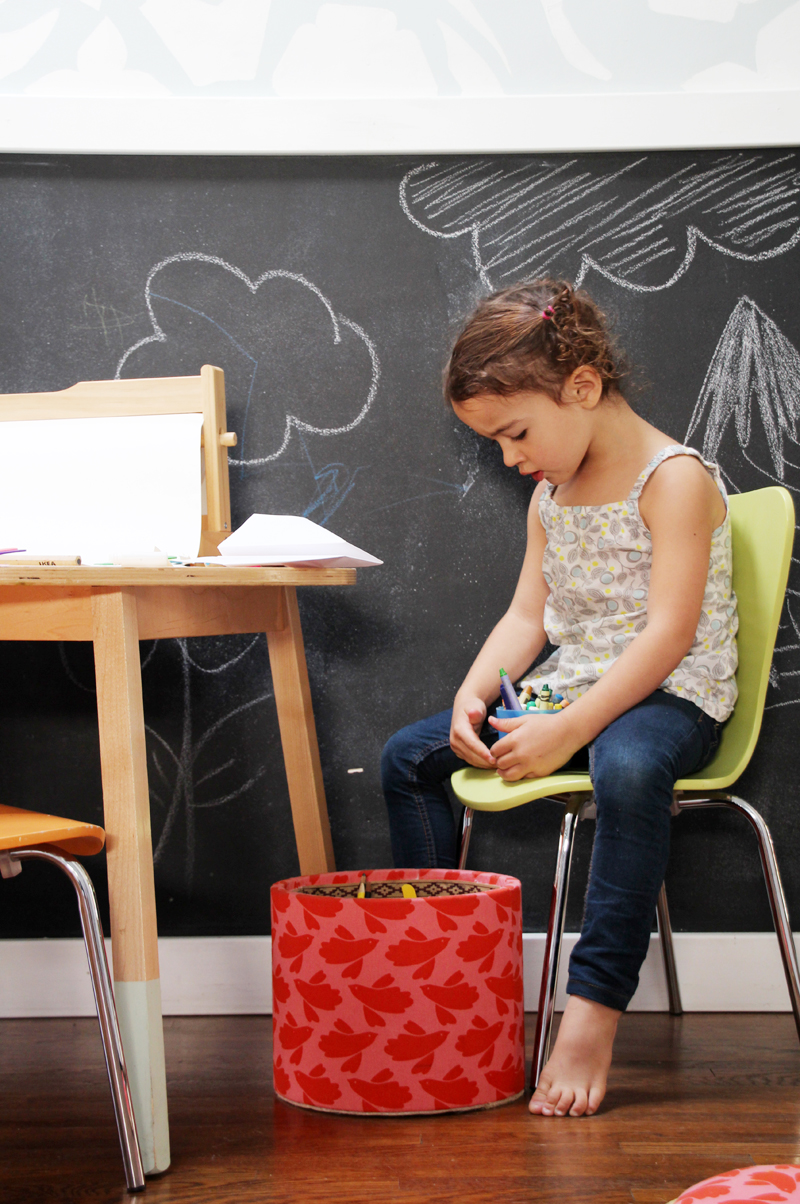
As a reminder, the two spaces are a designated kid’s art table + chalkboard wall in the hallway (including mini chairs, unlimited rolls of paper and a small-but-big-enough ottoman that holds a ton of art supplies):
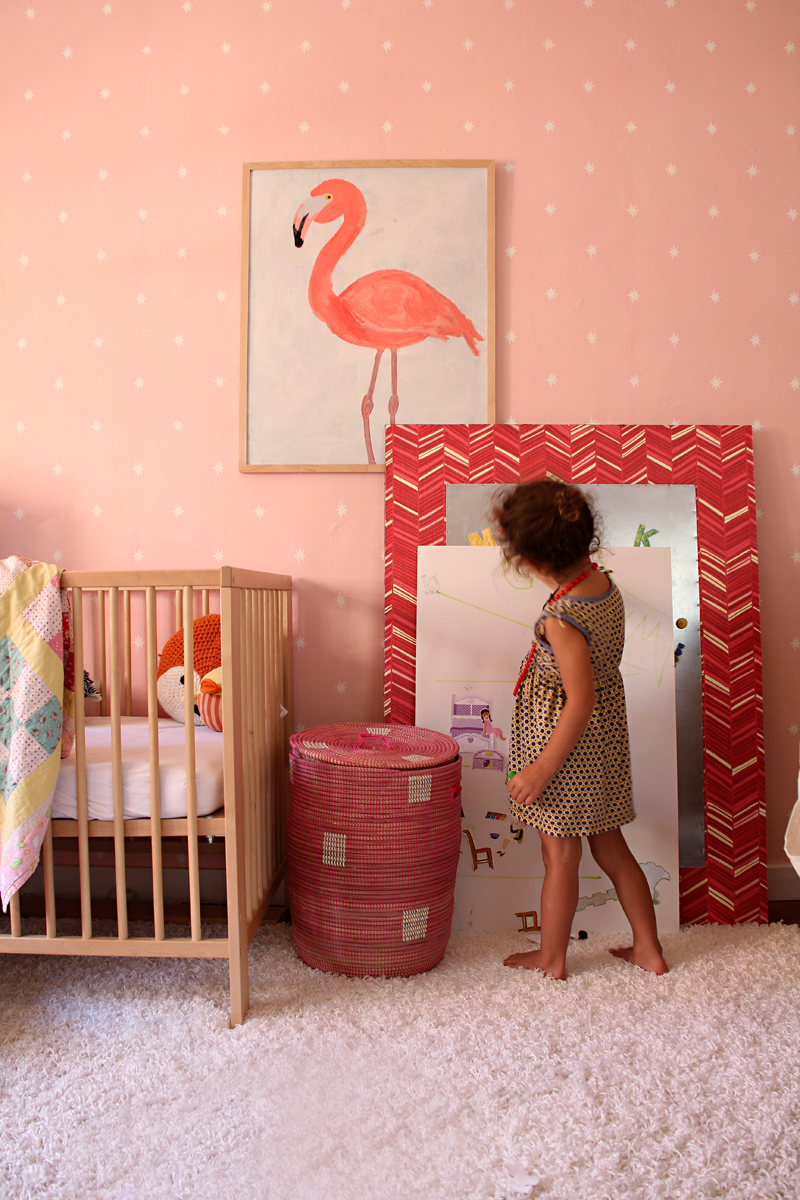
And the second is a set of four art boards (two different project surfaces on each side of two different boards) that stack up against the wall in the girls’ room:
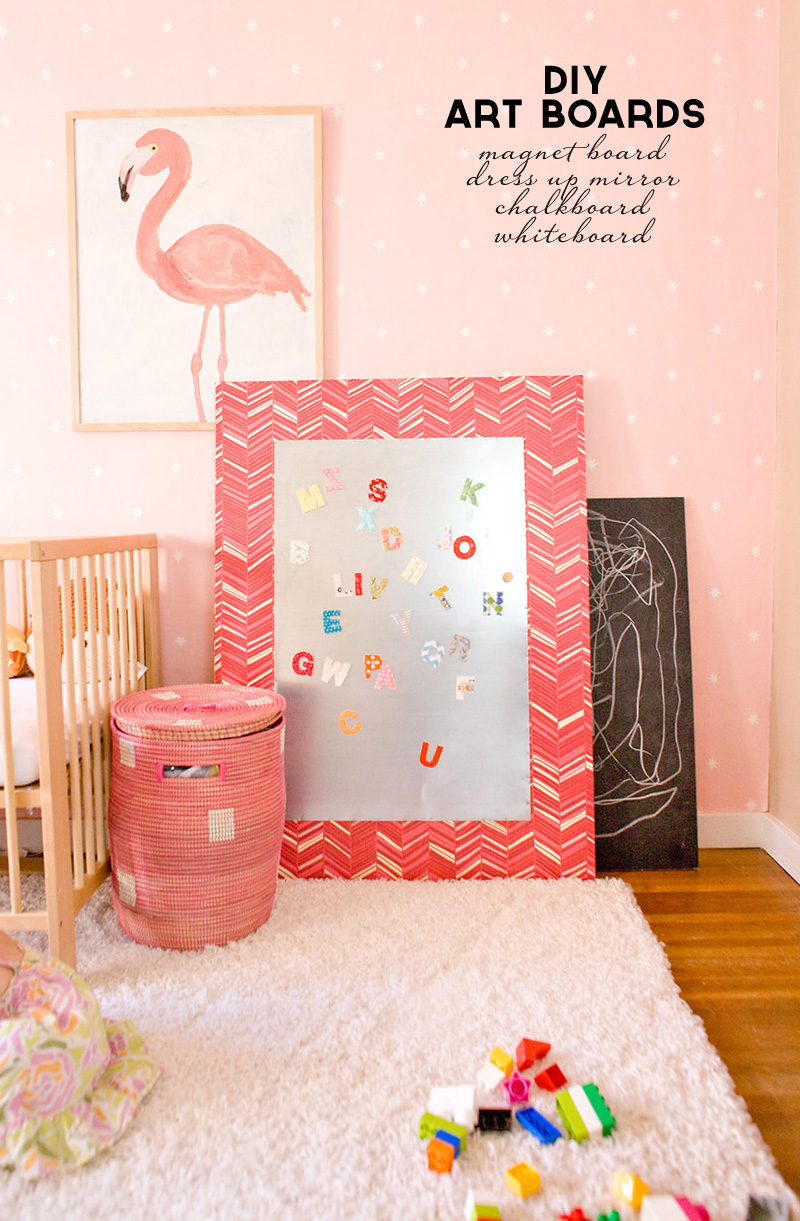
I thought I’d take a moment today to share how I built the art boards. I think that they are such a clever way to encourage creative play while also keeping art surfaces discreet in that this-won’t-take-over-the-room sort of way.
I originally spotted a chalkboard made in this style on Pinterest (can’t find it now to link) and brainstormed what kind of surfaces I could cover four different areas with. What emerged was: a chalkboard and on the opposite side a whiteboard (which we use with removable stickers to make imaginary scenes), and a magnet board with a dress up mirror on its opposite. Other ideas might include a felt board or even boards that lay flat when in use for legos, a train table…
Okay, now to breaking down the steps to make each.
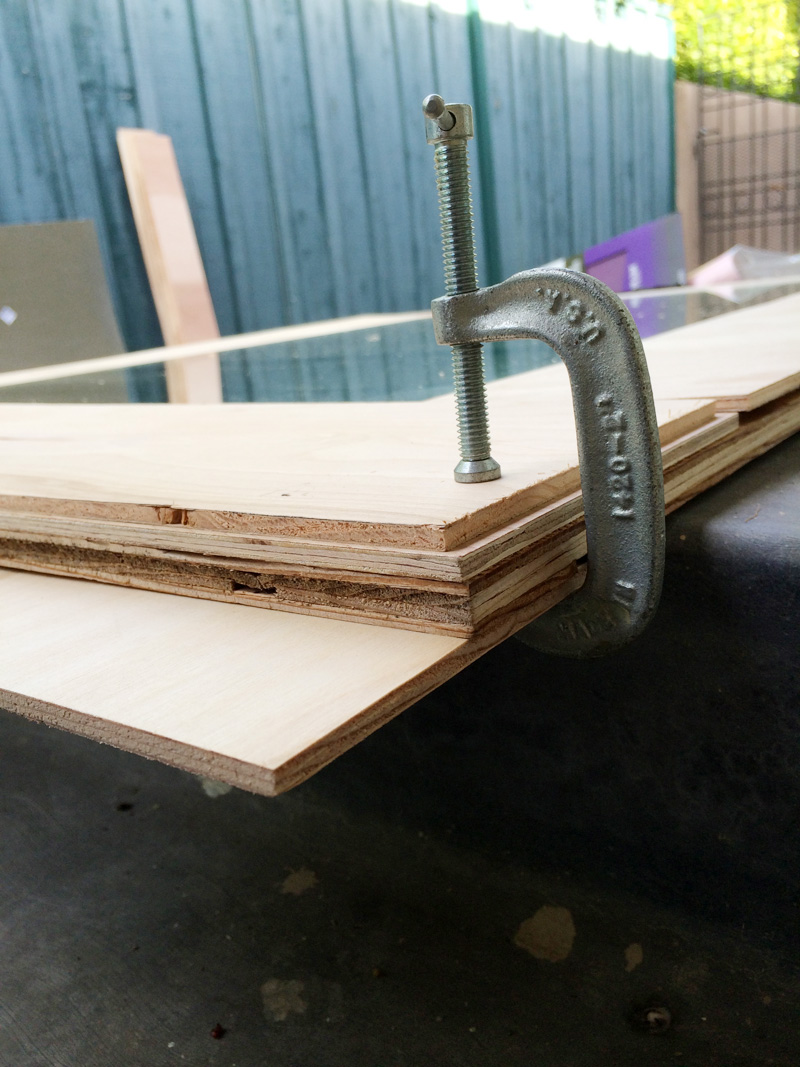
Let’s start with the easiest – I found the chalkboard and whiteboards at Lowe’s (I’ve seen them at Home Depot, too) in the exact size that I was hoping for (24×36″). I simply applied a healthy application of liquid nails to the back of one board and sandwiched the back of the other on top. Clamps left on over night secured the two together.
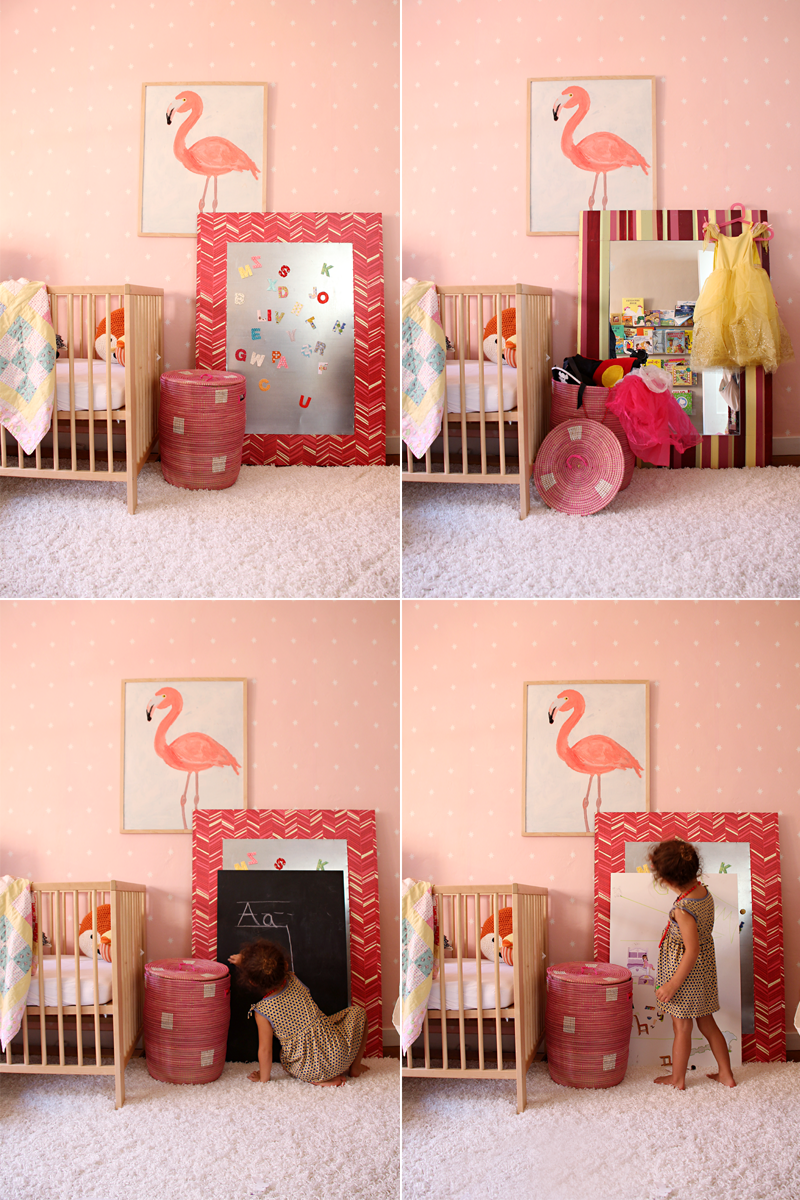
One side is chalkboard, but if you flip to the other you’ll have a whiteboard:
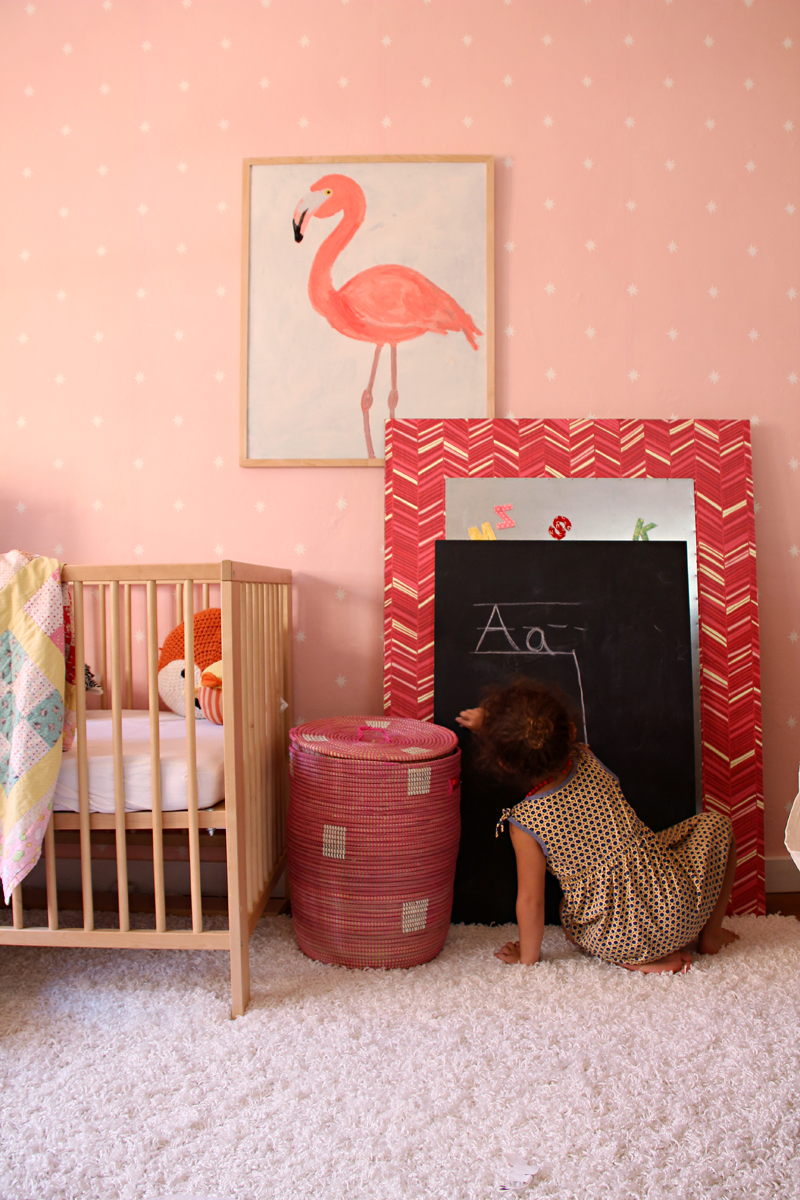
Liv uses the chalkboard to practice letters, teach her teddy bear preschool class and to draw signs and designs that she wants to move around the house (it’s great for me, too, if I want to create a sign like a dinner menu for a party or welcome note/sign for a birthday).
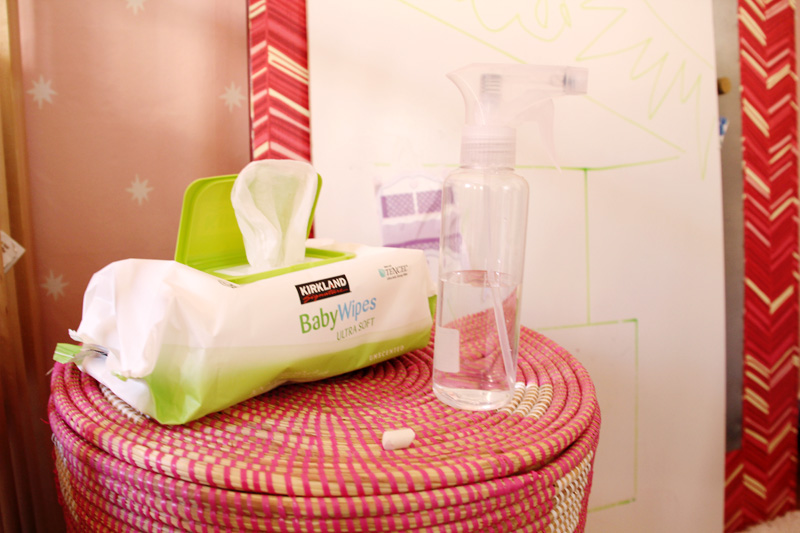
The whiteboard is kind of cool because we use them with reusable stickers (like these) to create fun scenes. An outline of a house + stickers of chairs and tables turns into a play house, an outdoor scene (drawn with whiteboard markers) becomes perfect for reusable flower stickers. To clean, just baby wipes and a mini spray bottle of water.
The second board – which also stacks against the wall and tucks away when not in use! – is a magnet board on one side and a dress up mirror on the other.
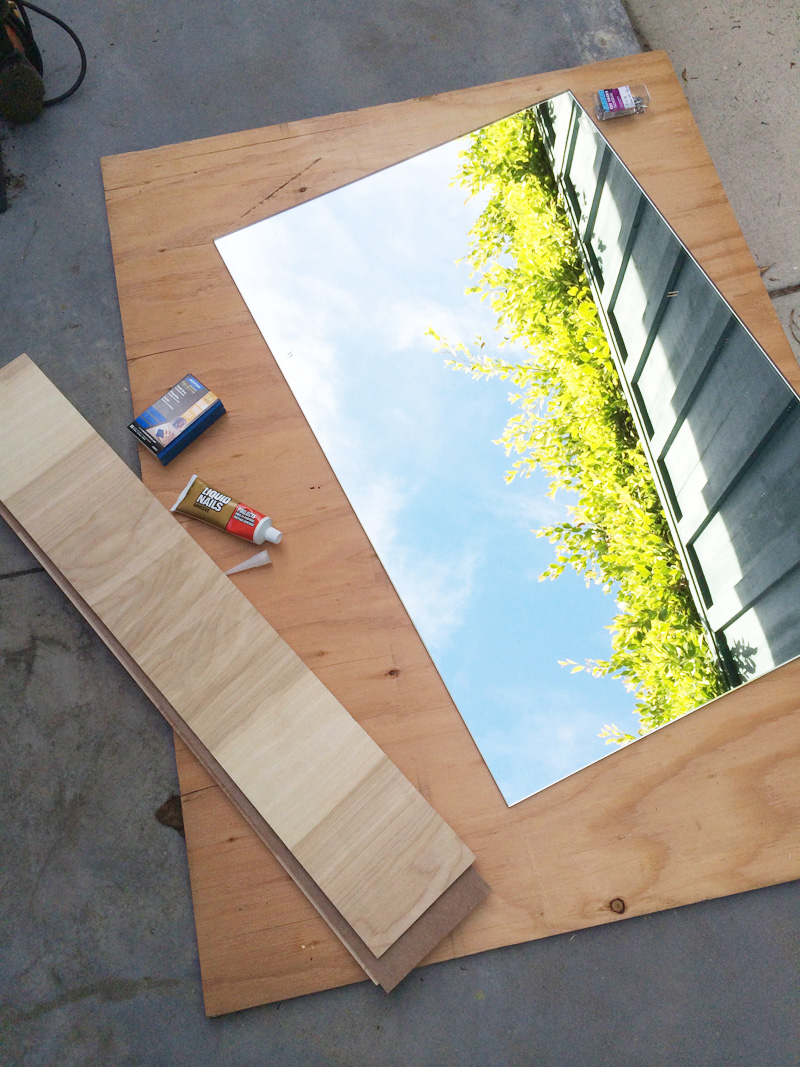
This guy was more challenging to make but well worth it. The finished measurements were: 24×36″ mirror framed on a 36×48″ piece of plywood on one side, and a 24×36″ piece of tin nailed to the other.
Materials: 24×36″ mirror, 48x48x1/2″ plywood cut to a 48×36″ size, 48x48x1/4″ cut into four 36″ pieces, 24×36″ piece of tin, paint, sanding block, liquid nails, 1/2″ aluminum nails, wallpaper, awl and hammer.
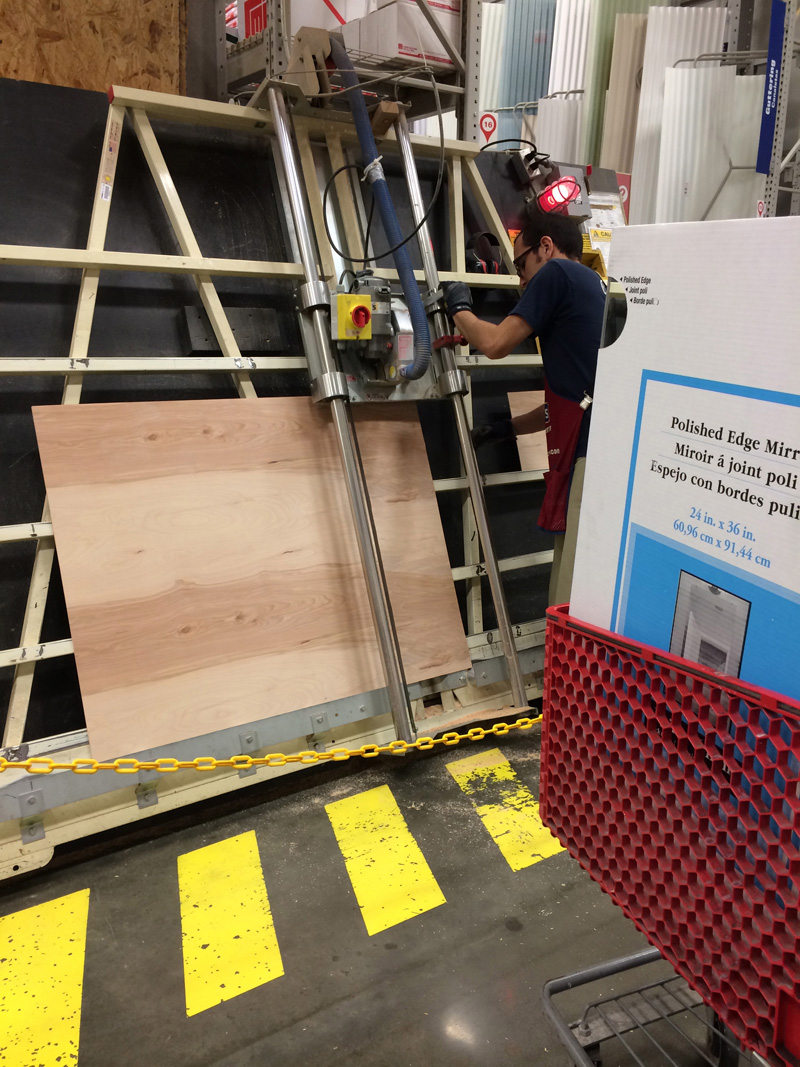
I stumbled across a perfectly sized 2×3′ mirror (I could have always modified the frame measurements if I hadn’t though) and designed a board + frame around that size. By adding a 6″ frame all the way around the mirror, my final measurements for the board were 36″ wide by 48″ tall. That was convenient because you can buy a 4×4′ plywood sheet at a pretty inexpensive price and have it cut in store to remove that extra foot.
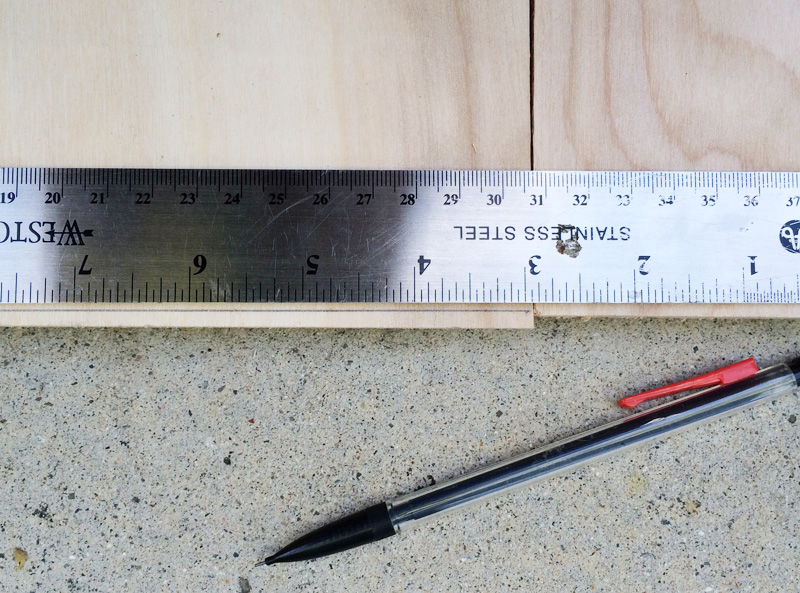
The plywood for the base of the board is 1/2″ thick and for the frame, 1/4″ thick. I had the second piece of plywood (1/4″ piece) cut into four 36″ pieces (one for the top and bottom and one for each side).
Home improvement stores can never really give exact cuts because of the type of saw that they use (which is meant to handle big cuts over precision). When I got home I had to correct the cuts so that the edges would all be flush (no splinters for the kiddos!).
Then with the mirror temporarily in place as my guide, I simply applied liquid nails to the edges and adhered the 36″ border frame into place.
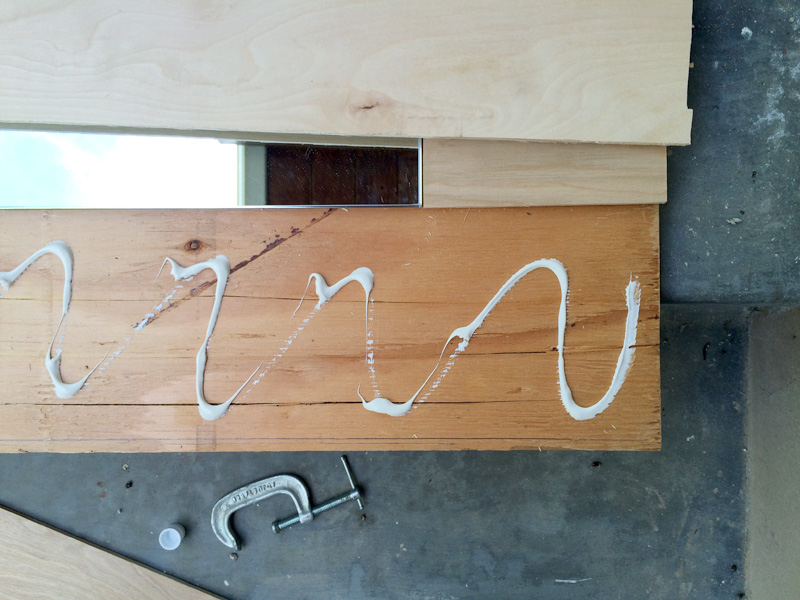
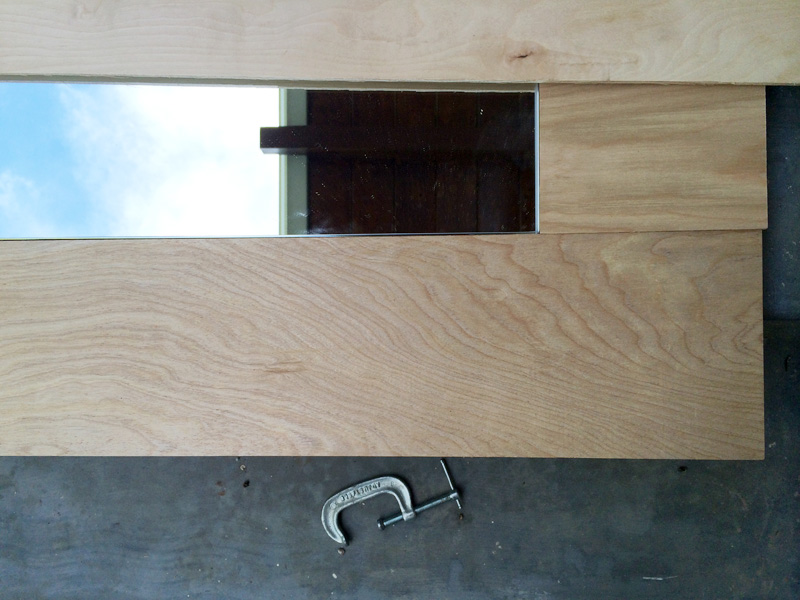
For a very flat surface, I recommend allowing the boards to dry with clamps in place for at least 24 hours. You might notice that I’ve sandwiched my actual mirror board pieces between two scrap pieces of wood to prevent any indentation from the clamps.
The sanding block comes in handy at the end of the project as well to grind down any edges, corners, or splintering wood.

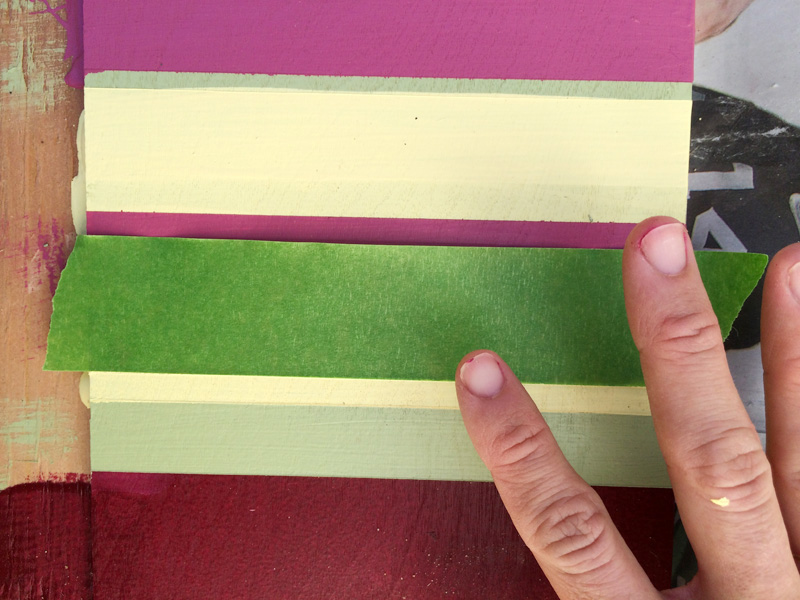
Next up was striping the board! I removed the mirror and got to work with layers and layers of striped paint. No method to the madness, just painting, drying, taping, painting, drying, taping, painting…
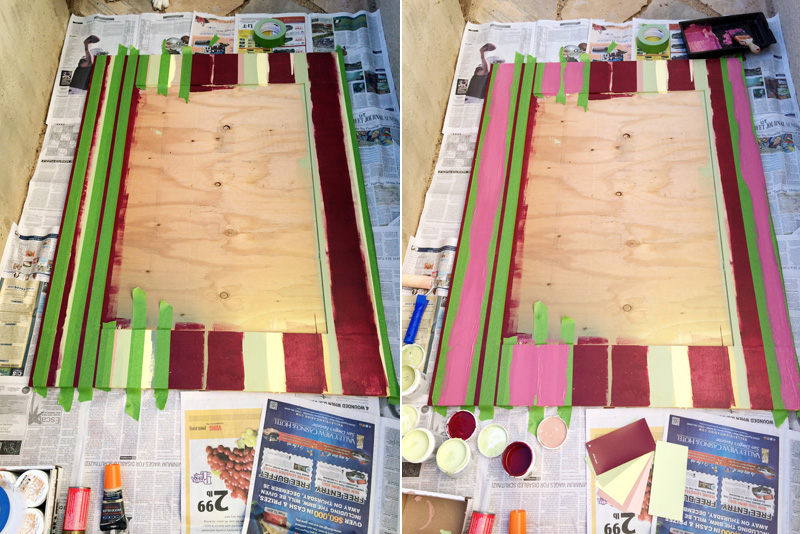
As long as I really pressed my painter’s tape (using frog tape here) along the edge in place, my lines turned out okay. A little bleeding here and there but nothing I was too concerned about or couldn’t paint over again. I also painted the edges for a uniform look.
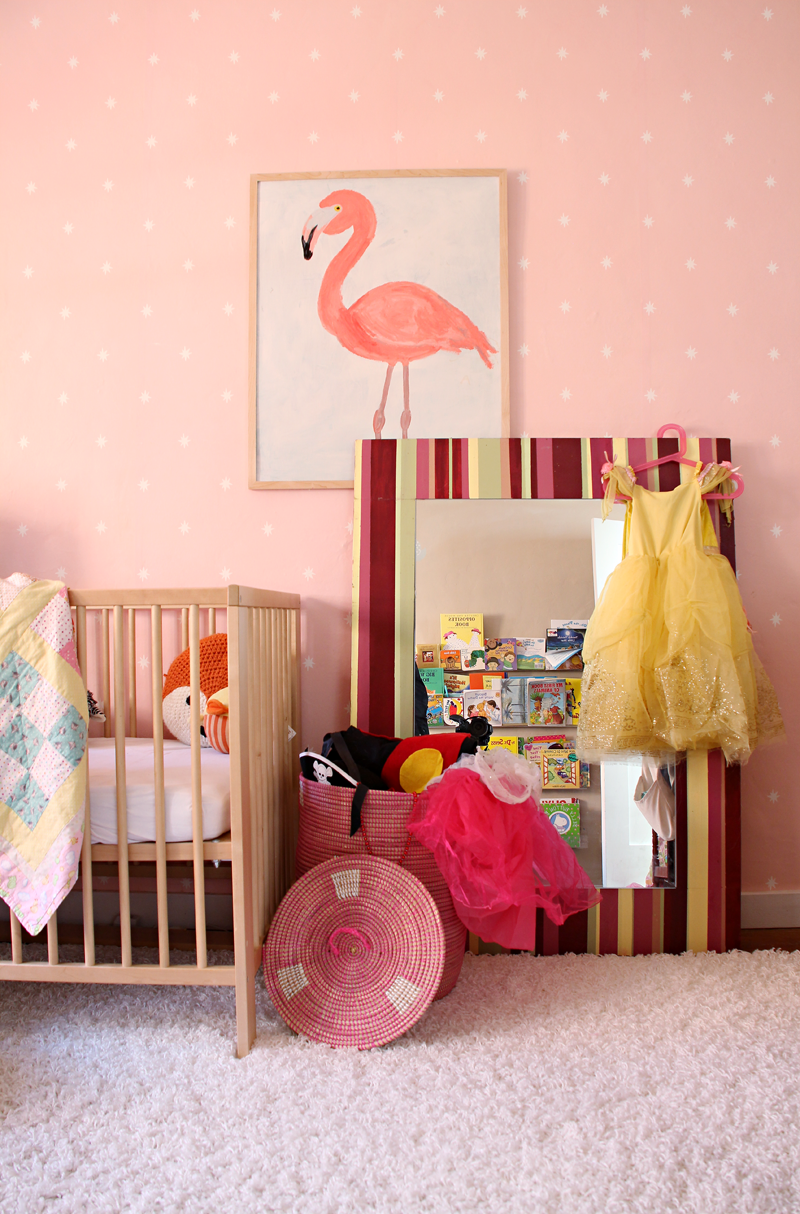
Side one, done! Paired with a dress up basket, this little gem yields to hours of imaginary play.
The other side of the board was a plain piece of plywood for a while…
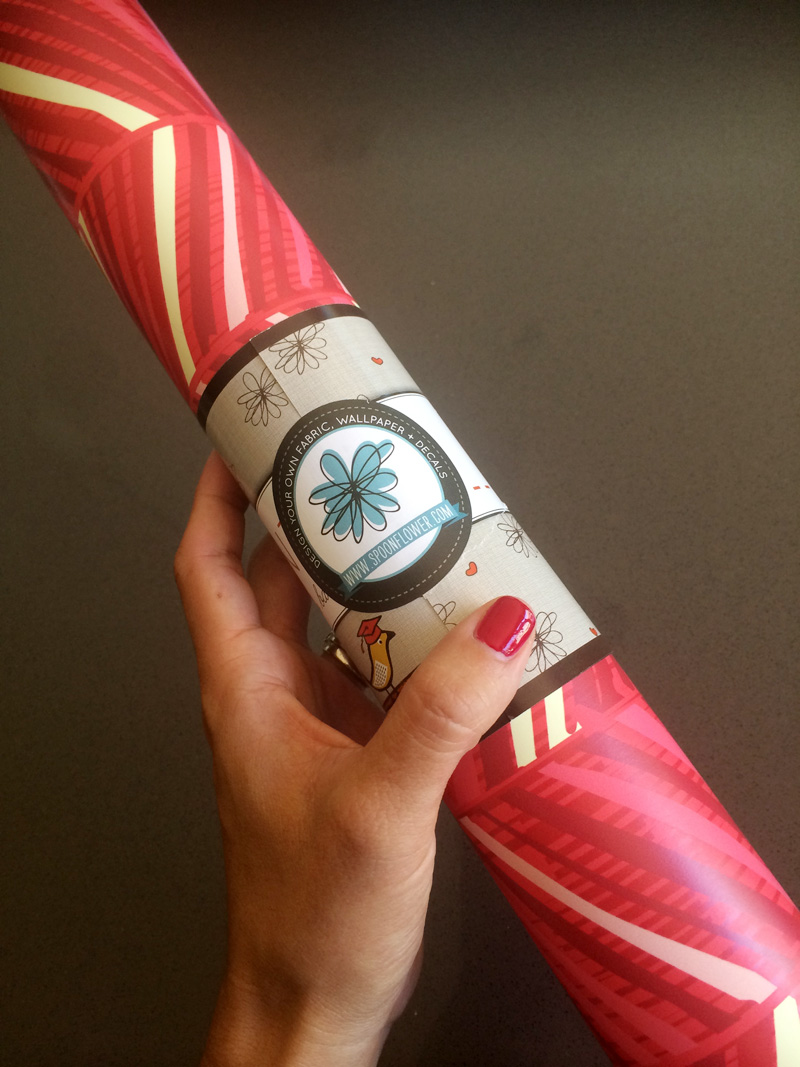
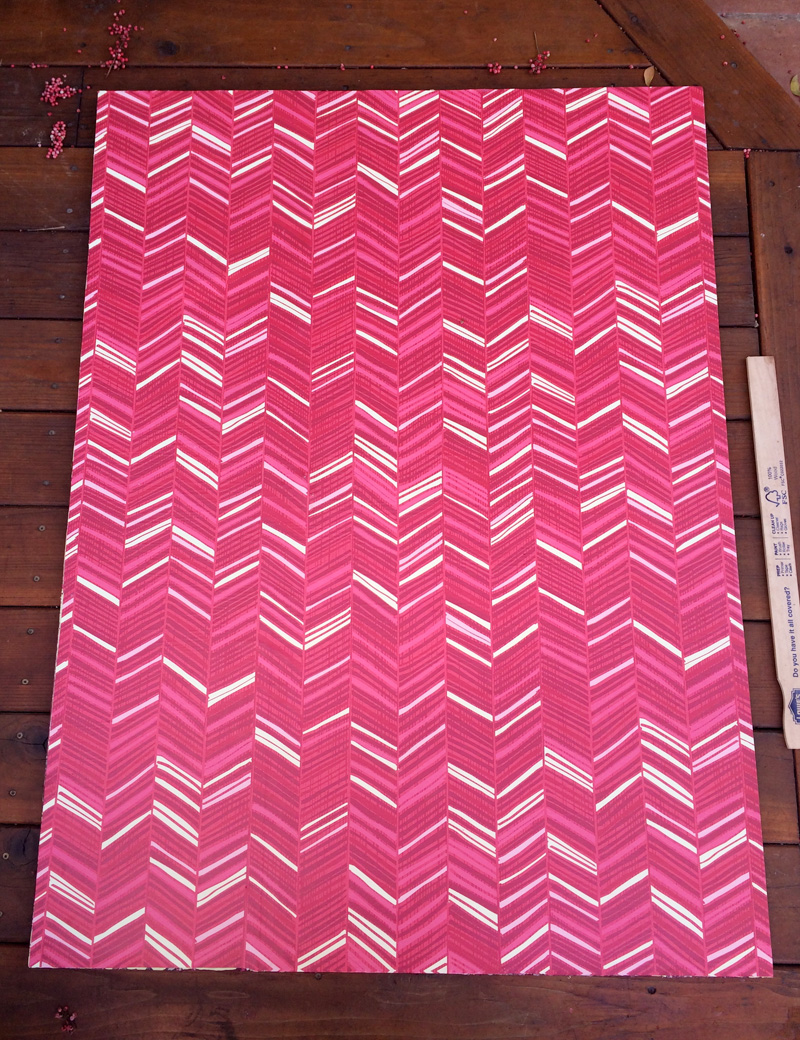
I knew that I wanted to create a magnet board, but I actually had the hardest time coming up with a background design that I thought would look nice in the girls’ room with their starry wallpaper and all of the other crazy patterns that are already going on in that space. I sat on the idea forever and finally, during a Spoonflower browsing session, came across a fun zig zag/chevron design that I dug. I reached out to the artist and she was AWESOME enough to create a custom color palette that pulled out some of the colors in the room (thanks again, Christina!). You can purchase the design here (also, kudos to Spoonflower for allowing you to buy custom-sized wallpaper rolls now).
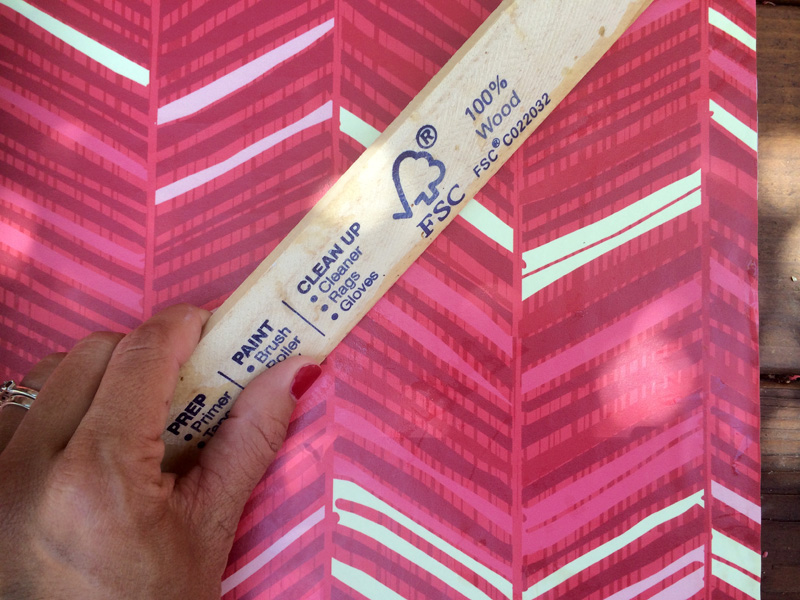
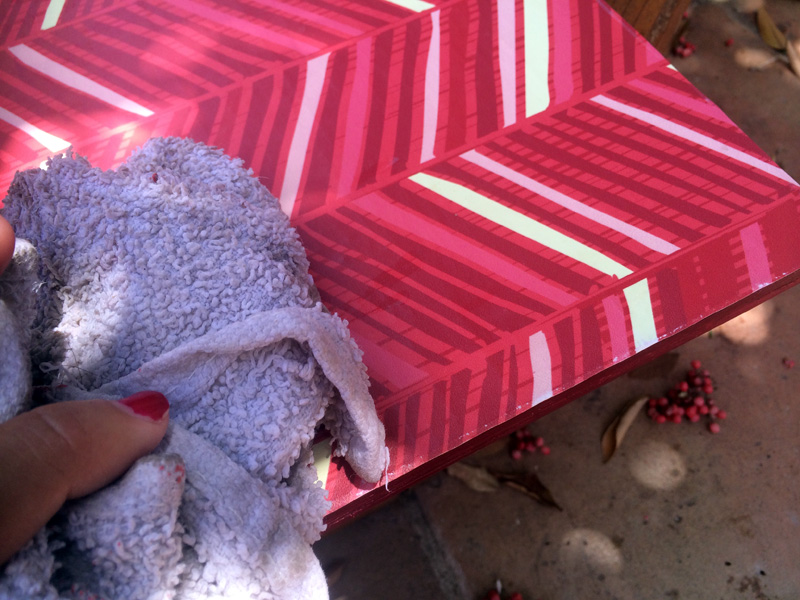
To apply the wallpaper to the board, I first used a straightedge and exacto knife to cut the paper to size. The Spoonflower label gives instructions for application (you can check out my installation review from the girls’ room) which includes dunking in water, ‘booking’, and another straightedge to help remove any bubbles (for a project as small as this I use a paint stick) followed by wiping up any extra glue that may have seeped out of the side.
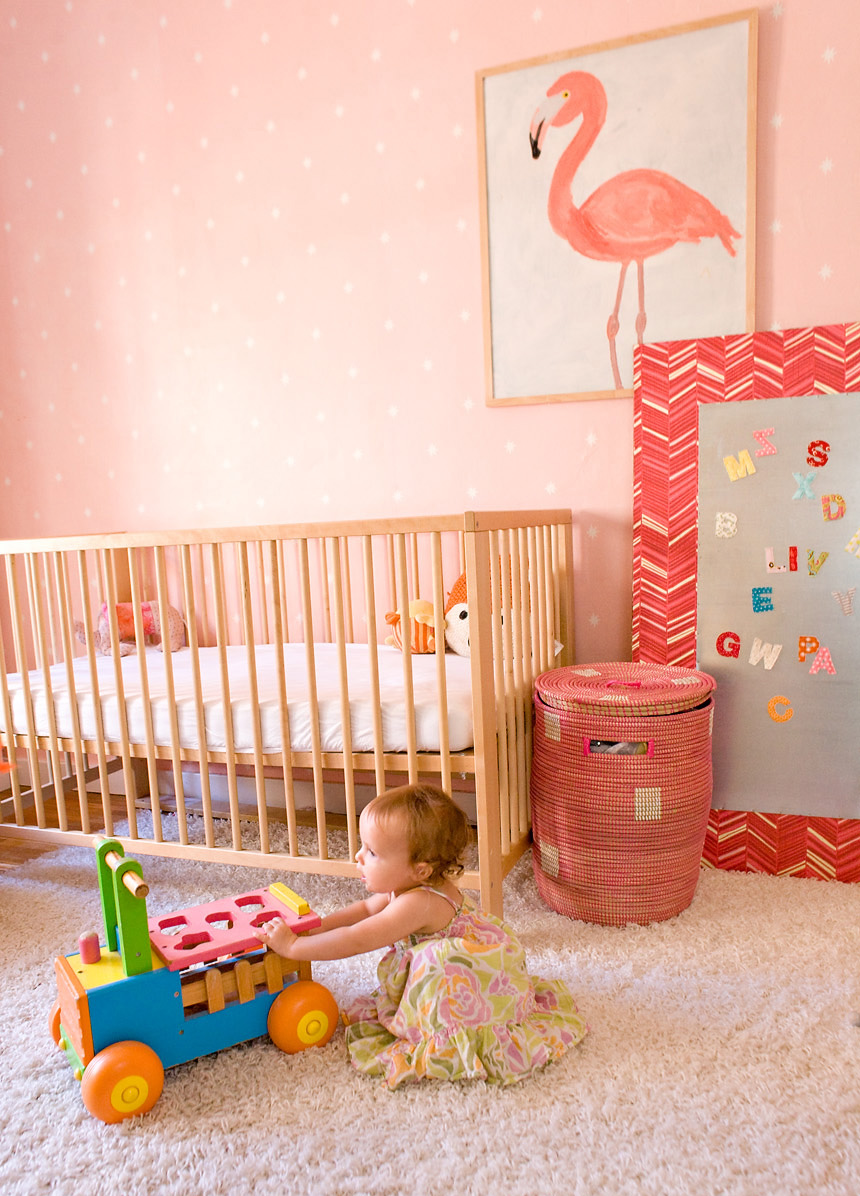
Next up was attaching the magnet board (which is actually a piece of purchased 24×36″ tin from the home improvement store) with aluminum tack nails. (Helpful tip: you want to be sure that your nails will not puncture all the way through the board before hammering them into place.)
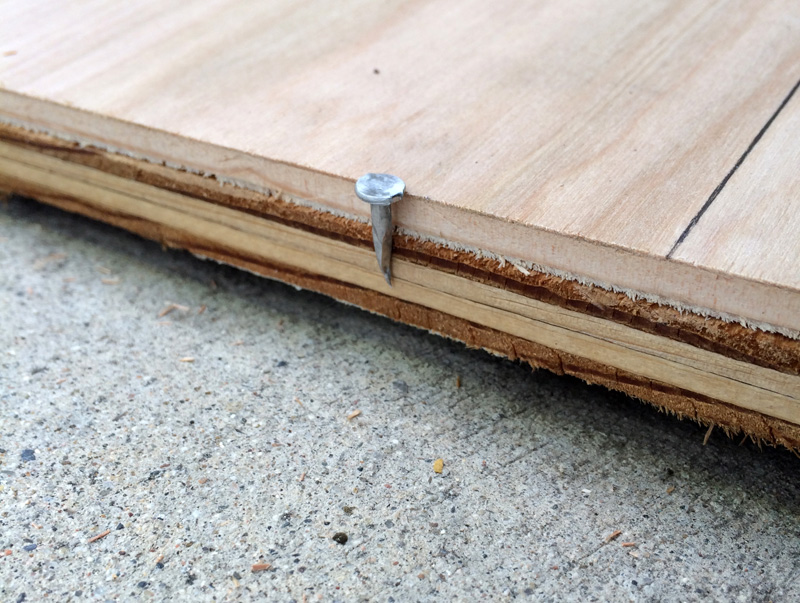

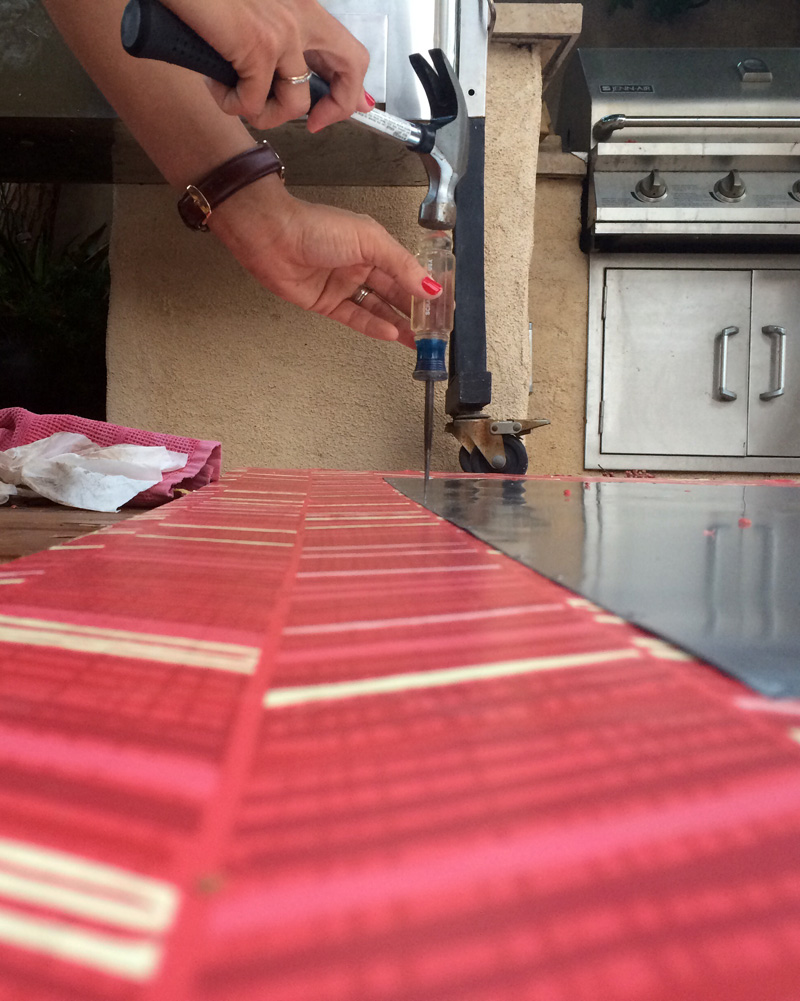
Hammering the aluminum nails directly into the tin was near impossible, so plan b was to first poke holes into the tin with an awl every 3″ or so.
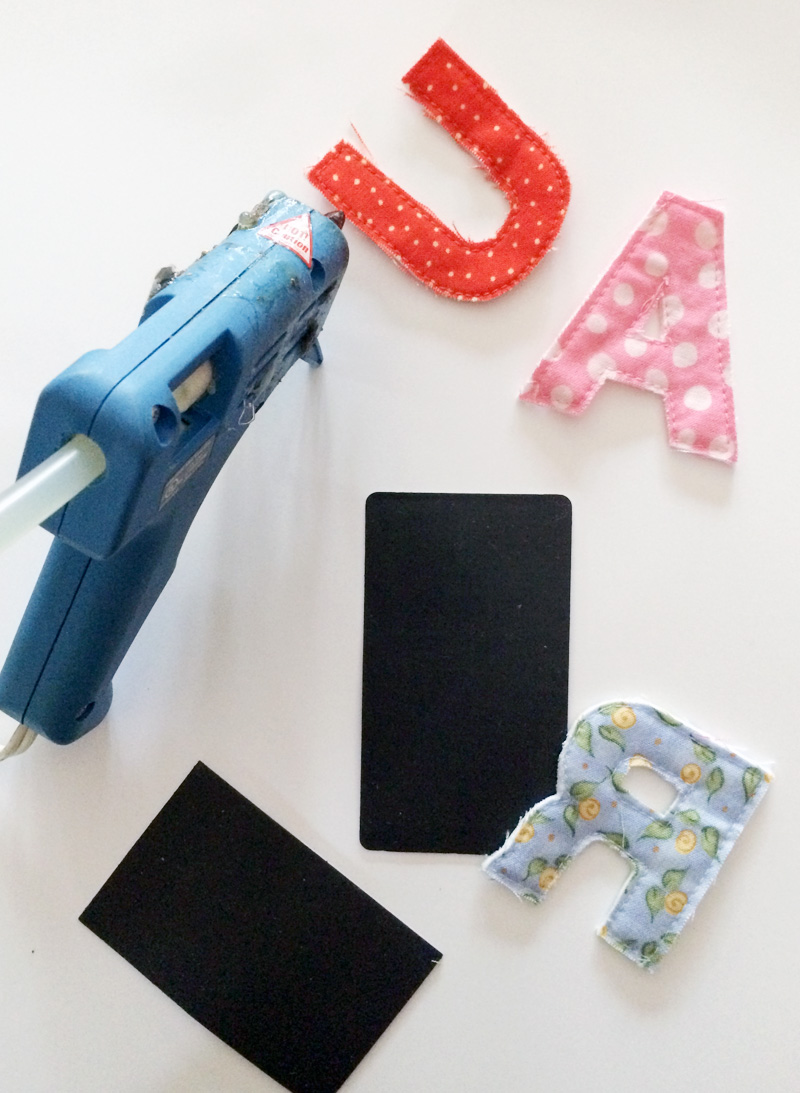
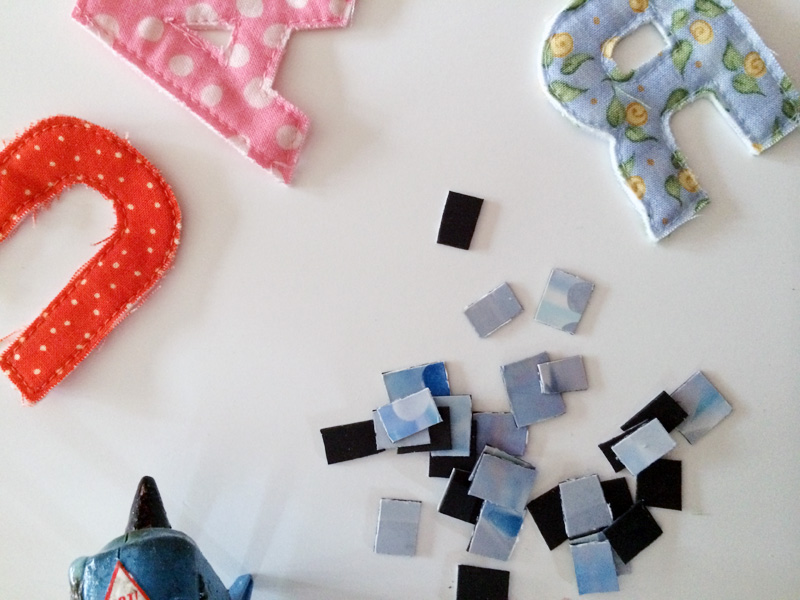
The very last step was to create cute learning magnets to hold up artwork. I found fabric alphabet letters on Etsy and thought that they’d be perfect for practicing words and sounds. To turn them into magnets, I simply cut up some of those flat promo magnets that we had collected from the mail (you know, the pizza menus and what not) and hot glued them to the back of each of the letters.
Finished! I’m so happy with these boards and I think that they’ll get years of use. I might add to them as we go (felt board, cork board…) or maybe even make a pair of chalkboards for T to have her own when the girls play in this little corner together.
Thanks for hanging in there for this lengthy post :), I’m happy to have this project finally documented. Have a beautiful day!
PS more on that maker’s space part 1 and where to find that fun flamingo print. Now to find a solution for lots of little craft supplies (pouf balls, popsicle sticks, beads…) for the kid’s table.


Those boards are just perfect in that space. It makes our Ikea easel look so lame in comparison!
We totally rock the Ikea easel too – nothing beats it for painting!