Pepper Design Blog

A Little of This & That... Renovating, Decorating, DIY Projects & Family

pepper_header_flower

The Pumpkin Patch

October 22, 2014 by Morgan

Pumpkin Patch 2014 | PepperDesignBlog.com

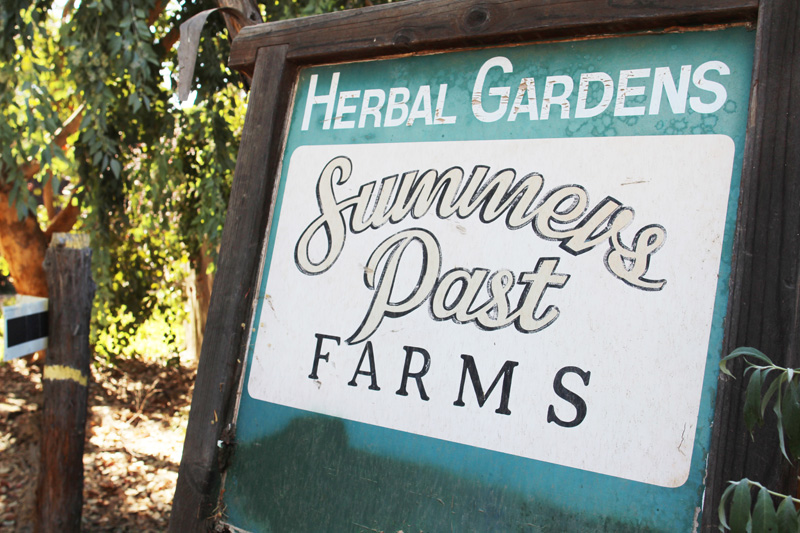
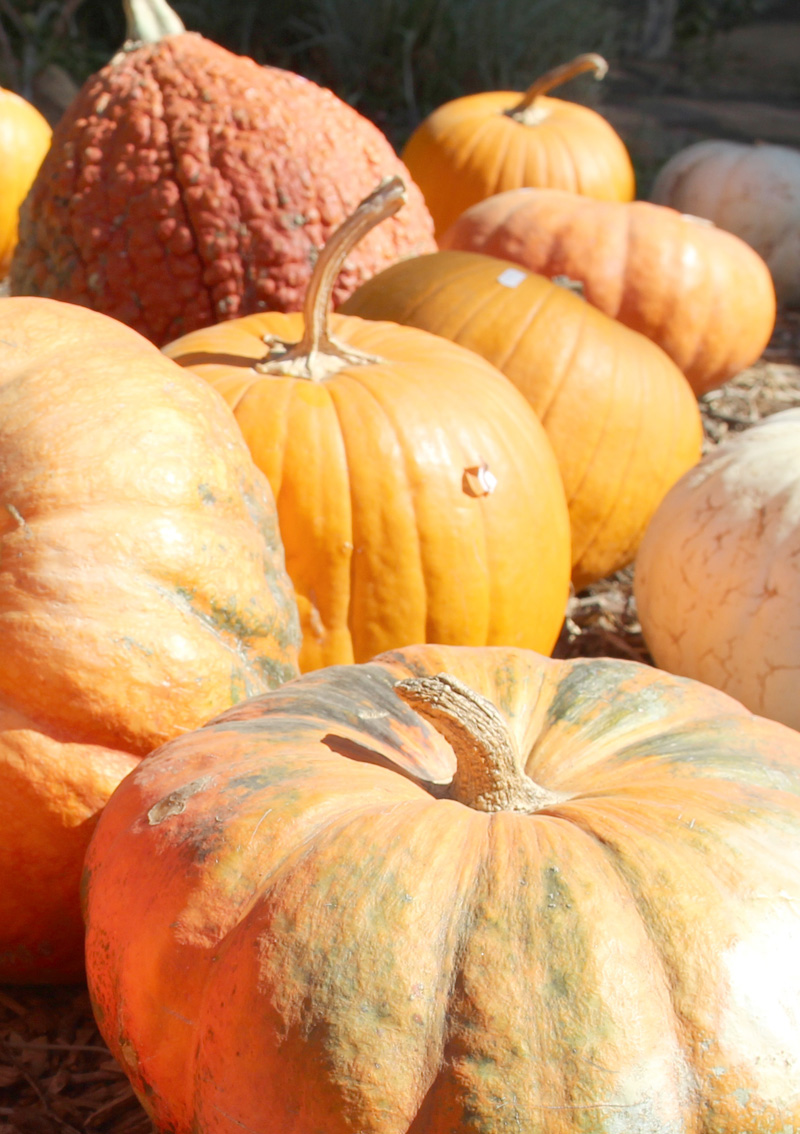
Fall would not be complete if we didn’t take our annual trip to Summer’s Past Farm pumpkin patch. I love this time of the year! And I love this little farm. It’s still warm here in San Diego, but every October we dig out the spiced candles and bake pumpkin bread and visit our local patch and eat it all up. All of this autumn-y season, that is.

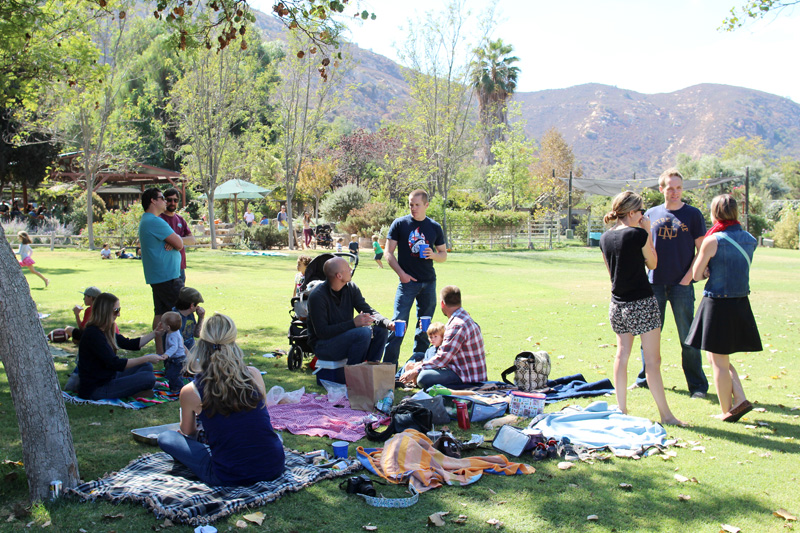
This past Saturday we headed out to that favorite yearly tradition of mine. The farm is just far enough outside of town that it feels rural and special in that remote sort of way, but it’s only about 20 minutes towards the mountains from our house so it’s a convenient little spot to meet all of our friends for a picnic lunch.

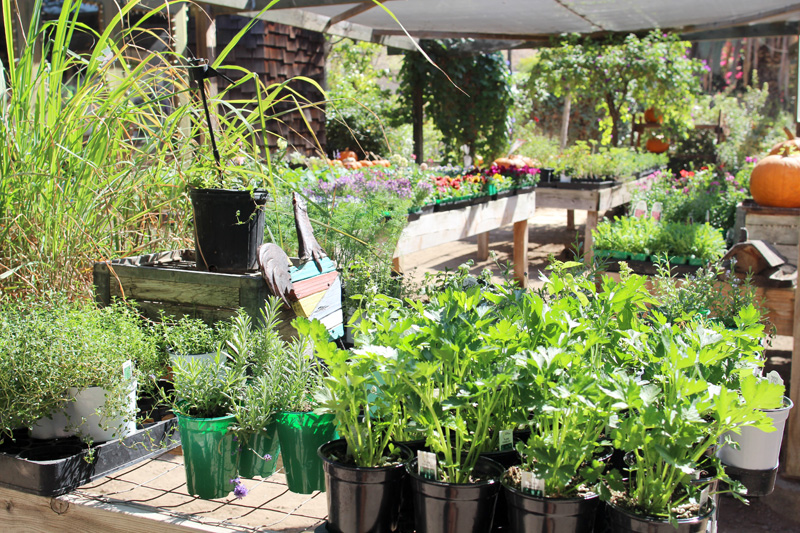
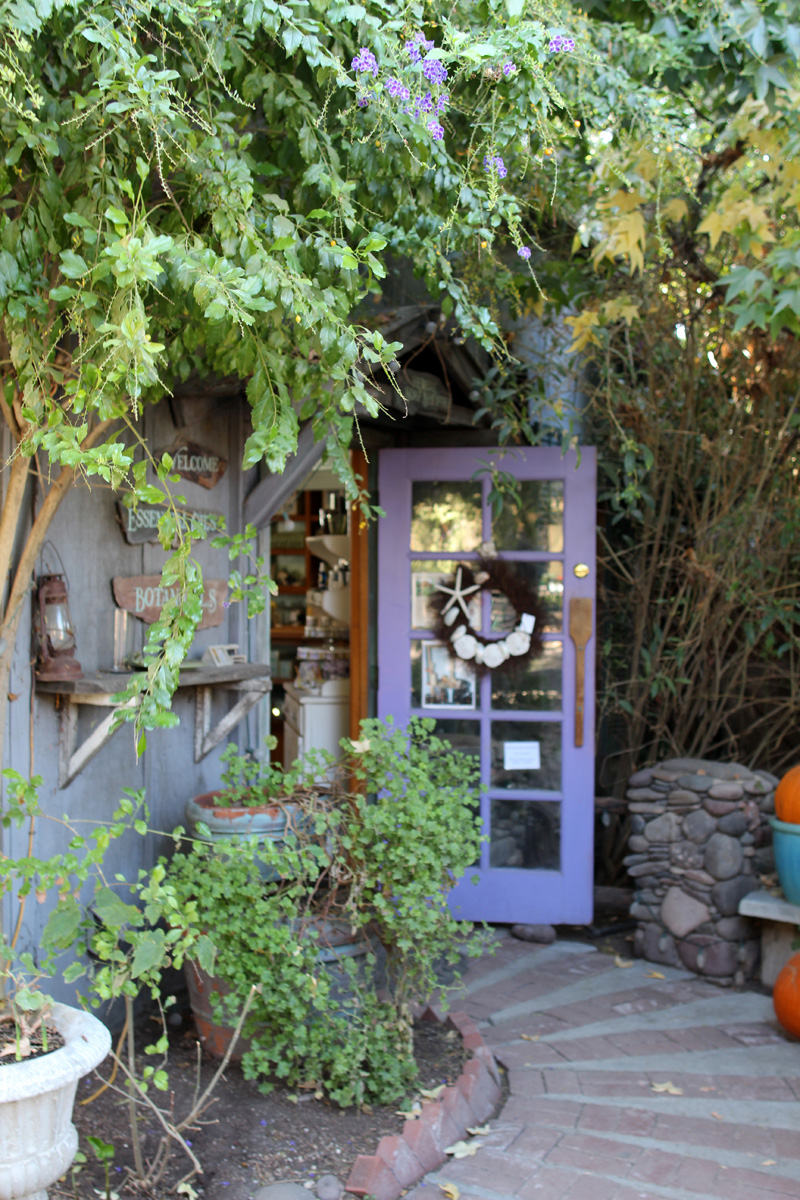
During the fall, Summer’s Past opens up their herb nursery, giant lawn and cute little homemade shops to create a mini festival experience. There’s a jump house for the kids, pumpkins on and off of the vine ripe for the picking, and usually even a petting zoo (the highlight being spitting llamas :-)).

Pumpkin Patch 2014 | PepperDesignBlog.com

Pumpkin Patch 2014 | PepperDesignBlog.com

Pumpkin Patch 2014 | PepperDesignBlog.com

Pumpkin Patch 2014 | PepperDesignBlog.com

Pumpkin Patch 2014 | PepperDesignBlog.com

Pumpkin Patch 2014 | PepperDesignBlog.com

Pumpkin Patch 2014 | PepperDesignBlog.com

Pumpkin Patch 2014 | PepperDesignBlog.com

Pumpkin Patch 2014 | PepperDesignBlog.com

Pumpkin Patch 2014 | PepperDesignBlog.com

Pumpkin Patch 2014 | PepperDesignBlog.com

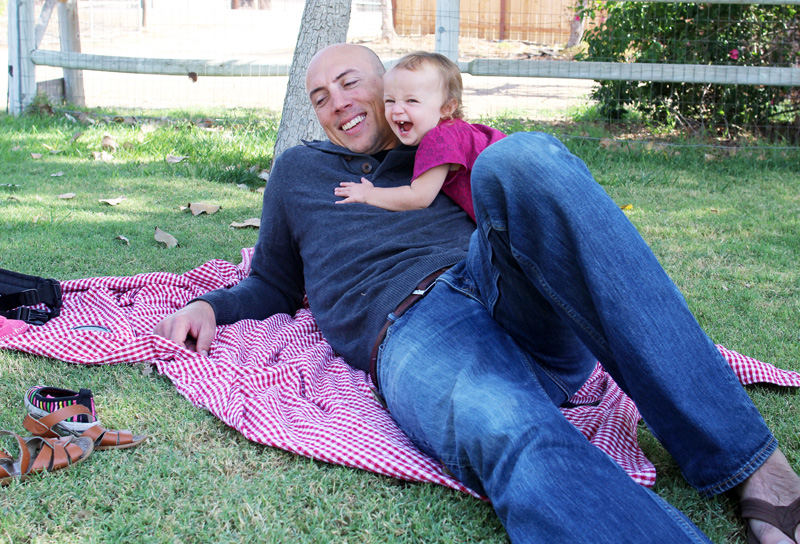
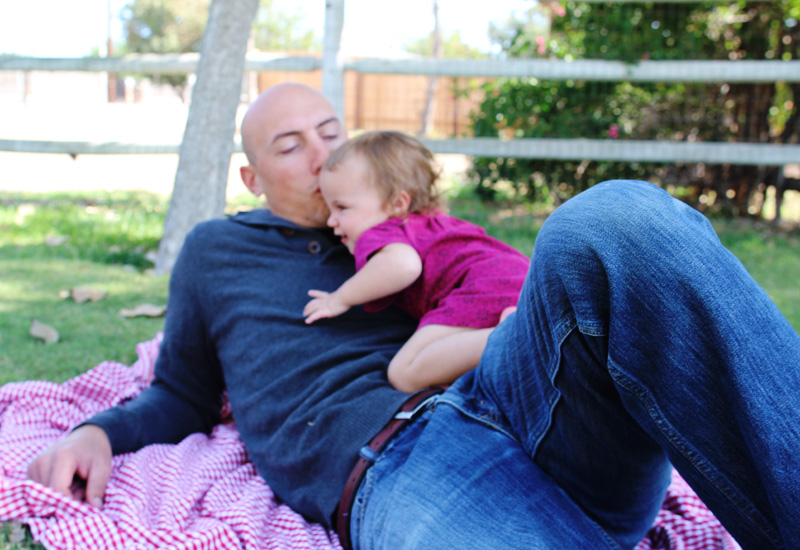
We even managed a couple of family photos (it’s sort of a tradition, but never a guarantee). There’s my new haircut, too. Bangs, what do you think? It was a pregnancy-brain move, but I like them.

Pumpkin Patch 2014 | PepperDesignBlog.com

I put this collage together last night after I realized that we really had managed to capture some sort of family photo at each of our annual pumpkin patch trips.

A walk down memory lane… in that first photo I’m pregnant with Liv (about as pregnant as I am right now with baby #3), and then from there the family keeps growing…

Pumpkin Patch 2014 | PepperDesignBlog.com

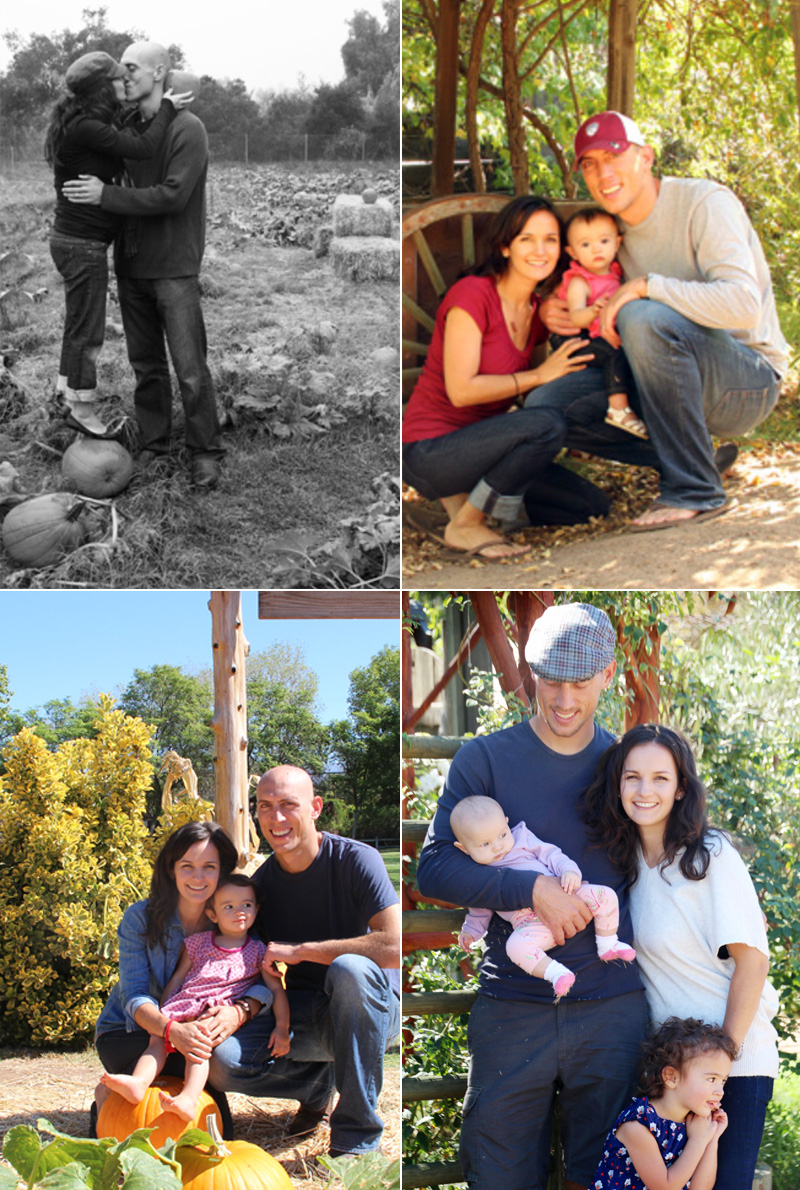
Some of them are quite blurry because they are screenshots of screenshots of photos (what have I done with that external hard drive holding all of 2011?). But my biggest takeaways are that my children don’t like to wear shoes (even on spiky hay – note picture #1 in this post too, T doesn’t care for anything on her right foot, that show always disappears), getting everyone to look at the camera is a 50-50, and we look so young just five years ago.

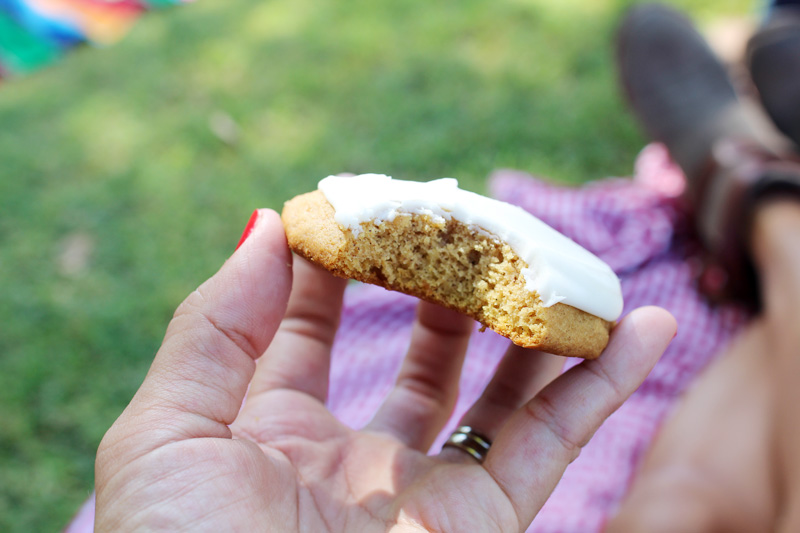
Our friend, Jennifer brought those amazing pumpkin spiced, brown butter cookies – recipe found here.

- posted on October 22, 2014 Filed Under: Everyday Stuff, Fall, Family & Friends, Holidays, Olivia, Seasons, Taylor Rose, Weekend Fun Tagged With: Halloween, Wardrobe - Fall

A Vintage Wooden Hat Rack

October 21, 2014 by Morgan

A Vintage Tea Cup, Coffee Mug Wooden Hat Rack | PepperDesignBlog.com

I love hats during every season. Big floppy ones for summer, fedoras for traveling, wool hats in the winter, a cowboy hat for a night at the honky tonk… ;)

I have a crazy collection on the top shelf of my little closet while I keep my more regularly worn ones stacked on a standing lamp in our room in one big, messy pile. I’ve done that for ages. Kevin’s hats, too (he is a big wool cap fan).

A New Tea Cup Hat Rack | PepperDesignBlog.com

Inspired by this idea to create a pretty display, I decided to test out a long piece of twine and clips to see if I could organize our hats into a nice looking collection. But then I came across an awesome, vintage cup rack at a flea market and, remembering that I had seen the idea of using it for hats somewhere, decided to give it a go.

A New Tea Cup Hat Rack | PepperDesignBlog.com

I used command strips to stick it to the wall and love my new solution.

A New Tea Cup Hat Rack | PepperDesignBlog.com

A New Tea Cup Hat Rack | PepperDesignBlog.com

I’ve checked eBay and Etsy and it turns out you can find something similar starting around $10. Not too bad for a little organization! Now I can find my hats while I’m on my way out the door, and they are no longer at risk of being totally squashed by heavier objects.

Psst a new wool hat to add to my collection (and this one!). Our recently updated full bedroom pics and a few more organizing ideas.

- posted on October 21, 2014 Filed Under: Accessories, Crafty Solutions, Home, Organizing, Our Master Bedroom, Renovating Adventures, Wardrobe, Wardrobe - Fall, Wardrobe - Spring, Wardrobe - Summer, Wardrobe - Winter

Maker’s Space, Part 2: Building the Art Boards

October 20, 2014 by Morgan

Happy Monday! A while ago I shared two special spaces in our home – I’ve been affectionately calling them ‘maker’s spaces’ because they’re two creative spaces in the house that we’ve set aside for the girls. Sadly they often become stacked with toys to put away (in the case of our table) or slid behind nursery gliders and baskets (in the case of our boards) and I have to remember that they have to be seen to be used!

But, when they are used they are so loved. (Mental note to keep them clear from here on out.)

As a reminder, the two spaces are a designated kid’s art table + chalkboard wall in the hallway (including mini chairs, unlimited rolls of paper and a small-but-big-enough ottoman that holds a ton of art supplies):

A Maker's Space, Part 1 | Organizing Art Projects for Kids | PepperDesignBlog.com

And the second is a set of four art boards (two different project surfaces on each side of two different boards) that stack up against the wall in the girls’ room:

Building Art Boards | Chalkboard, Whiteboard, Magnet Board, Dress Up Mirror | PepperDesignBlog.com

I thought I’d take a moment today to share how I built the art boards. I think that they are such a clever way to encourage creative play while also keeping art surfaces discreet in that this-won’t-take-over-the-room sort of way.

I originally spotted a chalkboard made in this style on Pinterest (can’t find it now to link) and brainstormed what kind of surfaces I could cover four different areas with. What emerged was: a chalkboard and on the opposite side a whiteboard (which we use with removable stickers to make imaginary scenes), and a magnet board with a dress up mirror on its opposite. Other ideas might include a felt board or even boards that lay flat when in use for legos, a train table…

Nursery Artboards | PepperDesignBlog.com

Okay, now to breaking down the steps to make each.

Let’s start with the easiest – I found the chalkboard and whiteboards at Lowe’s (I’ve seen them at Home Depot, too) in the exact size that I was hoping for (24×36″). I simply applied a healthy application of liquid nails to the back of one board and sandwiched the back of the other on top. Clamps left on over night secured the two together.

Nursery Artboards | PepperDesignBlog.com

One side is chalkboard, but if you flip to the other you’ll have a whiteboard:

Nursery Artboards | PepperDesignBlog.com

Liv uses the chalkboard to practice letters, teach her teddy bear preschool class and to draw signs and designs that she wants to move around the house (it’s great for me, too, if I want to create a sign like a dinner menu for a party or welcome note/sign for a birthday).

The whiteboard is kind of cool because we use them with reusable stickers (like these) to create fun scenes. An outline of a house + stickers of chairs and tables turns into a play house, an outdoor scene (drawn with whiteboard markers) becomes perfect for reusable flower stickers. To clean, just baby wipes and a mini spray bottle of water.

Nursery Artboards | PepperDesignBlog.com

The second board – which also stacks against the wall and tucks away when not in use! – is a magnet board on one side and a dress up mirror on the other.

Girls' Room | PepperDesignBlog.com

This guy was more challenging to make but well worth it. The finished measurements were: 24×36″ mirror framed on a 36×48″ piece of plywood on one side, and a 24×36″ piece of tin nailed to the other.

Building the Art Boards | PepperDesignBlog.com

Materials: 24×36″ mirror, 48x48x1/2″ plywood cut to a 48×36″ size, 48x48x1/4″ cut into four 36″ pieces, 24×36″ piece of tin, paint, sanding block, liquid nails, 1/2″ aluminum nails, wallpaper, awl and hammer.

I stumbled across a perfectly sized 2×3′ mirror (I could have always modified the frame measurements if I hadn’t though) and designed a board + frame around that size. By adding a 6″ frame all the way around the mirror, my final measurements for the board were 36″ wide by 48″ tall. That was convenient because you can buy a 4×4′ plywood sheet at a pretty inexpensive price and have it cut in store to remove that extra foot.

The plywood for the base of the board is 1/2″ thick and for the frame, 1/4″ thick. I had the second piece of plywood (1/4″ piece) cut into four 36″ pieces (one for the top and bottom and one for each side).

Building the Art Boards | PepperDesignBlog.com

Home improvement stores can never really give exact cuts because of the type of saw that they use (which is meant to handle big cuts over precision). When I got home I had to correct the cuts so that the edges would all be flush (no splinters for the kiddos!).

Building the Art Boards | PepperDesignBlog.com

Then with the mirror temporarily in place as my guide, I simply applied liquid nails to the edges and adhered the 36″ border frame into place.

Building the Art Boards | PepperDesignBlog.com

Building the Art Boards | PepperDesignBlog.com

For a very flat surface, I recommend allowing the boards to dry with clamps in place for at least 24 hours. You might notice that I’ve sandwiched my actual mirror board pieces between two scrap pieces of wood to prevent any indentation from the clamps.

Building the Art Boards | PepperDesignBlog.com

The sanding block comes in handy at the end of the project as well to grind down any edges, corners, or splintering wood.

Building the Art Boards | PepperDesignBlog.com

Next up was striping the board! I removed the mirror and got to work with layers and layers of striped paint. No method to the madness, just painting, drying, taping, painting, drying, taping, painting…

Building the Art Boards | PepperDesignBlog.com

As long as I really pressed my painter’s tape (using frog tape here) along the edge in place, my lines turned out okay. A little bleeding here and there but nothing I was too concerned about or couldn’t paint over again. I also painted the edges for a uniform look.

Building the Art Boards | PepperDesignBlog.com

Side one, done! Paired with a dress up basket, this little gem yields to hours of imaginary play.

Nursery Artboards | PepperDesignBlog.com

The other side of the board was a plain piece of plywood for a while…

I knew that I wanted to create a magnet board, but I actually had the hardest time coming up with a background design that I thought would look nice in the girls’ room with their starry wallpaper and all of the other crazy patterns that are already going on in that space. I sat on the idea forever and finally, during a Spoonflower browsing session, came across a fun zig zag/chevron design that I dug. I reached out to the artist and she was AWESOME enough to create a custom color palette that pulled out some of the colors in the room (thanks again, Christina!). You can purchase the design here (also, kudos to Spoonflower for allowing you to buy custom-sized wallpaper rolls now).

Building the Art Boards | PepperDesignBlog.com

To apply the wallpaper to the board, I first used a straightedge and exacto knife to cut the paper to size. The Spoonflower label gives instructions for application (you can check out my installation review from the girls’ room) which includes dunking in water, ‘booking’, and another straightedge to help remove any bubbles (for a project as small as this I use a paint stick) followed by wiping up any extra glue that may have seeped out of the side.

Building the Art Boards | PepperDesignBlog.com

Building the Art Boards | PepperDesignBlog.com

Building the Art Boards | PepperDesignBlog.com

Next up was attaching the magnet board (which is actually a piece of purchased 24×36″ tin from the home improvement store) with aluminum tack nails. (Helpful tip: you want to be sure that your nails will not puncture all the way through the board before hammering them into place.)

Building the Art Boards | PepperDesignBlog.com

Building the Art Boards | PepperDesignBlog.com

Hammering the aluminum nails directly into the tin was near impossible, so plan b was to first poke holes into the tin with an awl every 3″ or so.

Building the Art Boards | PepperDesignBlog.com

The very last step was to create cute learning magnets to hold up artwork. I found fabric alphabet letters on Etsy and thought that they’d be perfect for practicing words and sounds. To turn them into magnets, I simply cut up some of those flat promo magnets that we had collected from the mail (you know, the pizza menus and what not) and hot glued them to the back of each of the letters.

Building the Art Boards | PepperDesignBlog.com

Building the Art Boards | PepperDesignBlog.com

Building Art Boards | Chalkboard, Whiteboard, Magnet Board, Dress Up Mirror | PepperDesignBlog.com

Finished! I’m so happy with these boards and I think that they’ll get years of use. I might add to them as we go (felt board, cork board…) or maybe even make a pair of chalkboards for T to have her own when the girls play in this little corner together.

Thanks for hanging in there for this lengthy post :), I’m happy to have this project finally documented. Have a beautiful day!

PS more on that maker’s space part 1 and where to find that fun flamingo print. Now to find a solution for lots of little craft supplies (pouf balls, popsicle sticks, beads…) for the kid’s table.

Related Posts Plugin for WordPress, Blogger...

- posted on October 20, 2014 Filed Under: Craft Projects, Crafty Solutions, DIY, Girls' Room, Home, Liv's Nursery, Maker's Space, Renovating Adventures, Tutorial, Uncategorized

  • « Previous Page
  • 1
  • …
  • 67
  • 68
  • 69
  • 70
  • 71
  • …
  • 438
  • Next Page »

Welcome to my little slice of the web where I practice finding family, career, homemade & inspired balance on a daily basis. This is where I capture my happy moments, and I'm honored that you're here to join us. Home + creativity + good eats + journaling + life as a working mom. Read more...

  • Email
  • Facebook
  • Google+
  • Instagram
  • Pinterest
  • RSS
  • StumbleUpon
  • Twitter

Search

Categories

Craft Projects CategoryCrafty Projects Good Eats & Recipes CategoryGood Eats Entertaining Ideas CategoryEntertaining Ideas Decorating Projects CategoryDecorating Style Boards CategoryStyle Boards Everything Holiday CategoryHolidays

Daily Dose

Favorite Posts

Dog Days of Summer: Craft Kits for Kids

Summer Craft Kits for Kids

August is a slower month for our family. Preschool summer school is out, dance lessons are taking a brief break for the month, our family vacation is

Our Double Stroller: Mountain Buggy +One Review

A Mountain Buggy +One Double Stroller Review

I'll preface by saying that this is not a sponsored review - we've found an awesome double stroller and we love it! Our Mountain Buggy + One has served

Wardrobe Style Board: A Work-From-Home Uniform

Wardrobe Style Board: A Stay-At-Home Mom Uniform | Cropped Light Jeans, Tan Sven Clogs, White Madewell V-Neck T-Shirt, Colorful Necklace, Gold Earrings | PepperDesignBlog.com

tan clogs | pocket tee | light jeans | gold disc earrings | colorful necklace It's not uncommon for people to come and go from our house all day long,

Happy 2nd Birthday, Taylor Rose!

Happy 2nd Birthday, Taylor Rose! An Infographic for My Girl | PepperDesignBlog.com

This weekend Taylor turned two. Taylor is such a bright, wonderful light in our lives. She is our funny, spunky little daughter that will do just about

How to Listen to Audiobooks on OverDrive

Intro to Audiobooks on OverDrive Public Library | PepperDesignBlog.com

Liv has developed a big interest in audiobooks as of late. One of my favorite ways for her to spend her 'quiet time' while Taylor and Marley nap is for her

Pistachio, Caramel & Sea Salt Chocolate Bars

Pistachio, Caramel & Sea Salt | Father's Day | PepperDesignBlog.com

Father's Day is not so far away, so here's an easy gift idea that can be made in advance or (literally) the night before. Homemade chocolate bars can be

Liv & Taylor-isms

Liv & Taylor-isms | Funny Things Kids Do & Say | PepperDesignBlog.com

Sometimes I capture something so funny/adorable/sweet that I can’t help but make note of it. Because Taylor is now expressing herself in full sentences, I

30 Things That I’ve Learned By 30

30 Things I've Learned by the Age of 30 | PepperDesignBlog.com

Today is my 30th birthday. I don't feel much older, but hearing that number roll out of my mouth feels as though I'm closing on a big chapter in my

Featured

Featured
VRBO San Diego Flying Bridge Vacation Rental cool toys for kids

Favorite Topics

Welcome to my little slice of the web where I practice finding family, career, homemade & inspired balance on a daily basis. This is where I capture my happy moments, and I'm honored that you're here to join us. Home + creativity + good eats + journaling. Read More…

  • Email
  • Google+
  • Instagram
  • Pinterest
  • RSS
  • StumbleUpon
  • Twitter
May 2025
MTWTFSS
« Feb  
 1234
567891011
12131415161718
19202122232425
262728293031 

Copyright © 2025 · Foodie Pro Theme by Shay Bocks · Built on the Genesis Framework · Powered by WordPress